I’m making my maiden post with two of my favorite things—a white t-shirt and crafting something new out of something old.
The good thing about plain white shirts is that you can wear it over and over again without it looking like your self-imposed uniform. However, plain white shirts obviously have shorter expiration dates than most colored shirts. You don’t want to be caught sitting next to someone wearing an immaculate white shirt lest you hear someone whisper “alin ang laba sa tide?” I wish I could tell you how to make your whites stay white other than to bleach them! Anyway, I have this favorite white shirt nearing its retirement but I can’t let it go just yet— too many memories having worn it at least once a week (like I said, self-imposed uniform). I’m exaggerating of course. Bottom line, I still want to use it. So what’s the next best thing to a plain white shirt? A printed white shirt HAHA! Let’s just say, I’m having a new shirt instead of losing a favorite one.
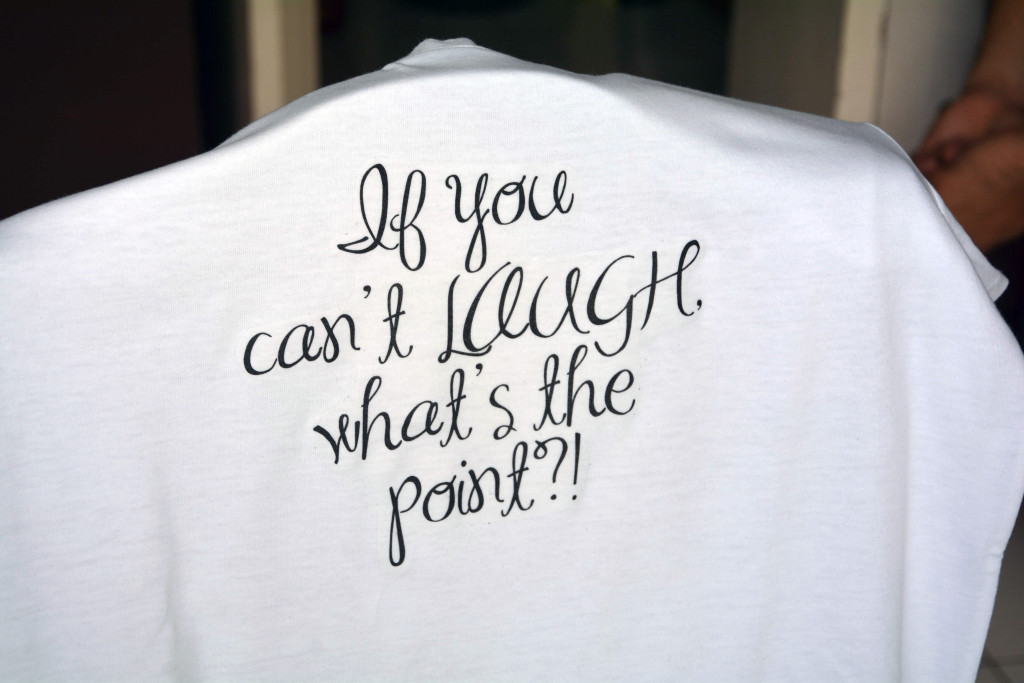
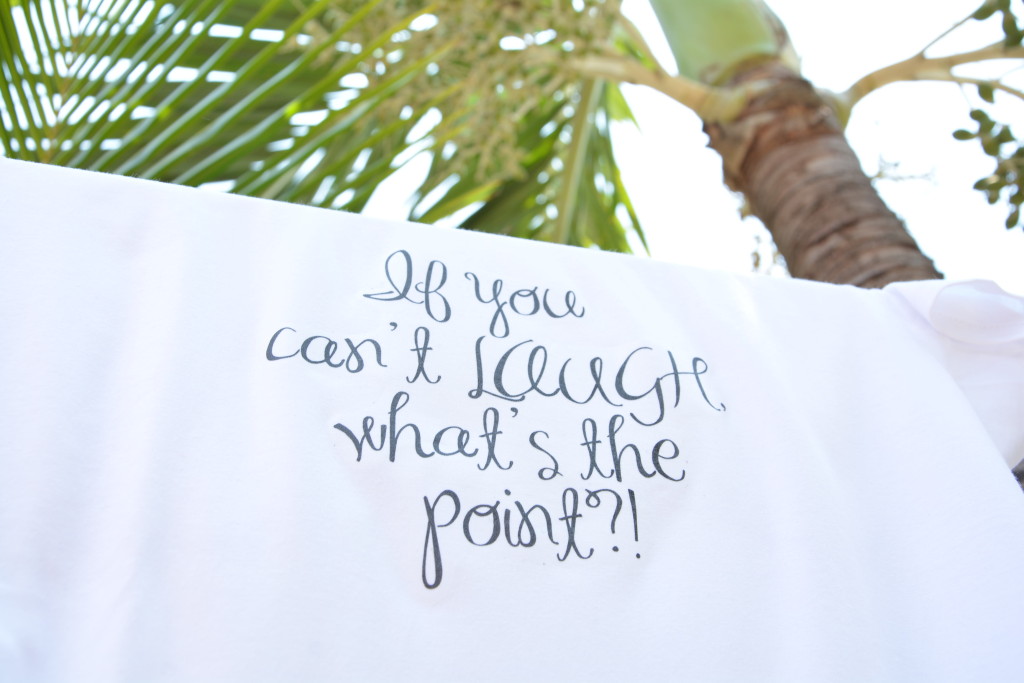
From a plain white shirt to this:
Materials:
- pre-loved shirt
- Iron-on heat transfer paper
- Inkjet printer
- Scissors
- Flat Iron
- Cloth (preferably a pillowcase)
- hard flat surface
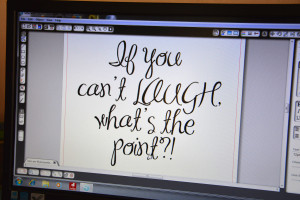
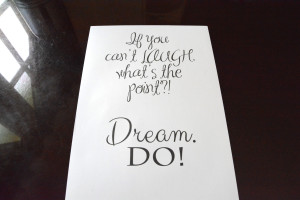
First, choose what you want to print. You have unlimited options to download from the internet or you can make your own designs.
Your transfer paper comes with detailed instructions so better read it well before starting your project.Once you have your design ready, print it on your transfer paper.
Your transfer paper comes with detailed instructions so better read it well before starting your project.Once you have your design ready, print it on your transfer paper.
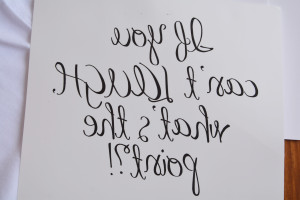
NOTE: Make sure you print the mirror image of the design. If your software does not have the mirror capability, you can set your printer thru the print set-up to print the mirror image of your design.
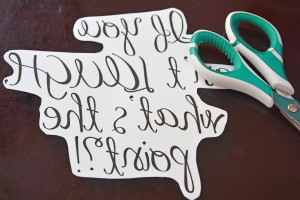
Once printed, cut out the remaining unprinted portions of your transfer paper. The closer to the design, the better. Later, you will see the effects of uncut portions of the transfer paper on your shirt.
After cutting your design, fold your cloth/pillowcase and set it on a hard flat surface. Don’t do your project on an ironing board as you will be doing some heavy pressing, unless your table doubles as your ironing board as well 🙂
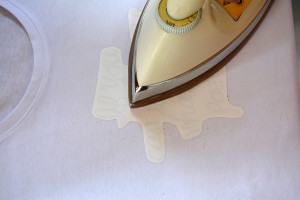
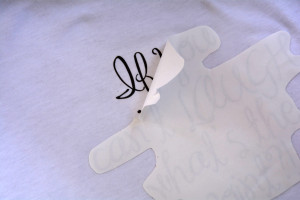
Lay your design face down on the shirt then start ironing from the edges for approximately one minute. Let it cool down before slowly removing the paper from the edges.
TIP: This is what I meant by cutting your design as close to the edges as possible. See how the uncut plastic parts are so visible, more so with a colored shirt.
You can try personalizing pillowcases, aprons, blankets, table runners, etc. with monograms using this technique as well 🙂
(Originally posted on June 7, 2015)


