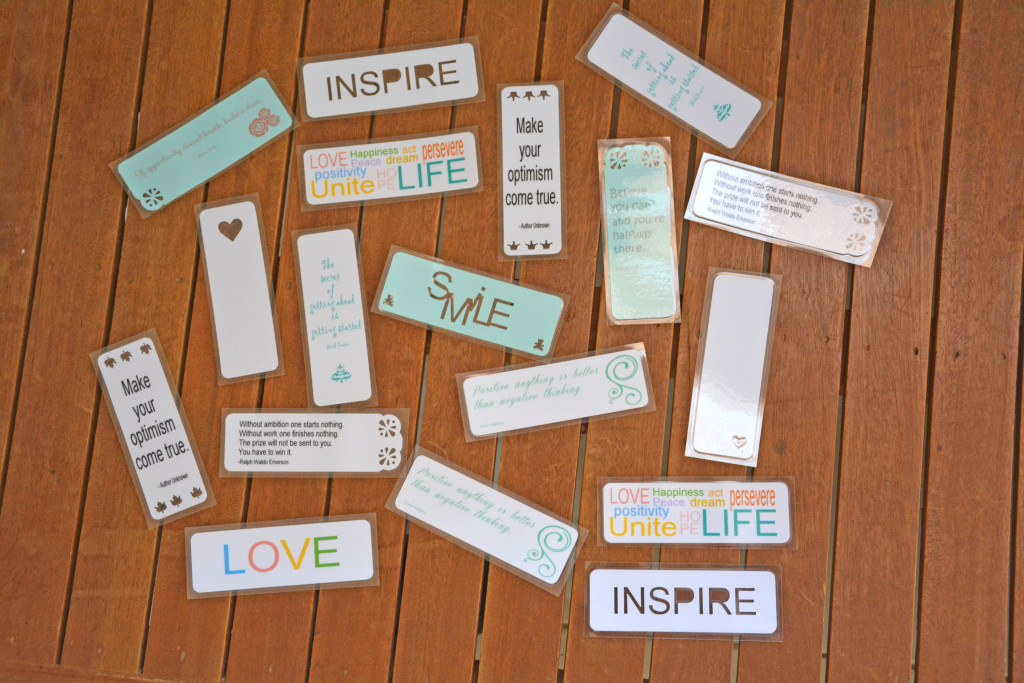
Anyone who knows my husband knows well that he likes books. While I craft to relax, he reads. He has hundreds of books and I’m not even kidding! He reads several books at a given day so when he’s done reading a chapter in one, he leaves his highlighter between pages as a bookmark and goes on to another book until later when he decides to read that marked book again. Poor book. What could be a better excuse to make bookmarks than this?!
Customizing your bookmarks can be a bit addictive when you get the hang of it. You can start with very simple designs on your word processing software or go crazy creative with a design software.
You can try it with these easy steps:
- Design
- Cut
- Laminate (optional)
- Cut
I made the designs on the Silhouette Studio software that I got with my Silhouette Portrait. Like I said, you can do it on a simple word processing software or if you’re artistic you can make handmade designs or do some calligraphy on your bookmarks (Hmmm a bulb just lit in my brain!).
Anyway, if you’re too tired to make your own designs you can download the designs I made for free here:
I used the print and cut feature of the machine which made making this project such a breeze. However, if you don’t have a cutting machine, good old scissors can still do the trick!
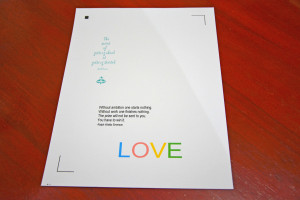
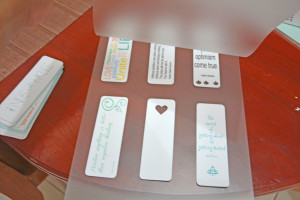
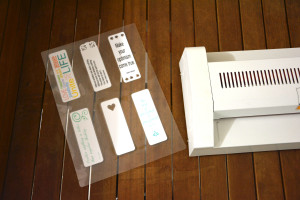
After cutting, I lined the bookmarks in acetate ready for lamination. I found that setting the laminator at 160 deg Celsius gives the best laminated output.
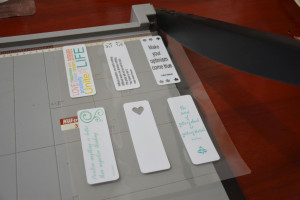
Once cooled, cut the laminated bookmarks leaving approximately 2 millimeters from the board’s border.
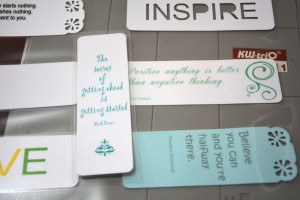
Last step: Brag!


