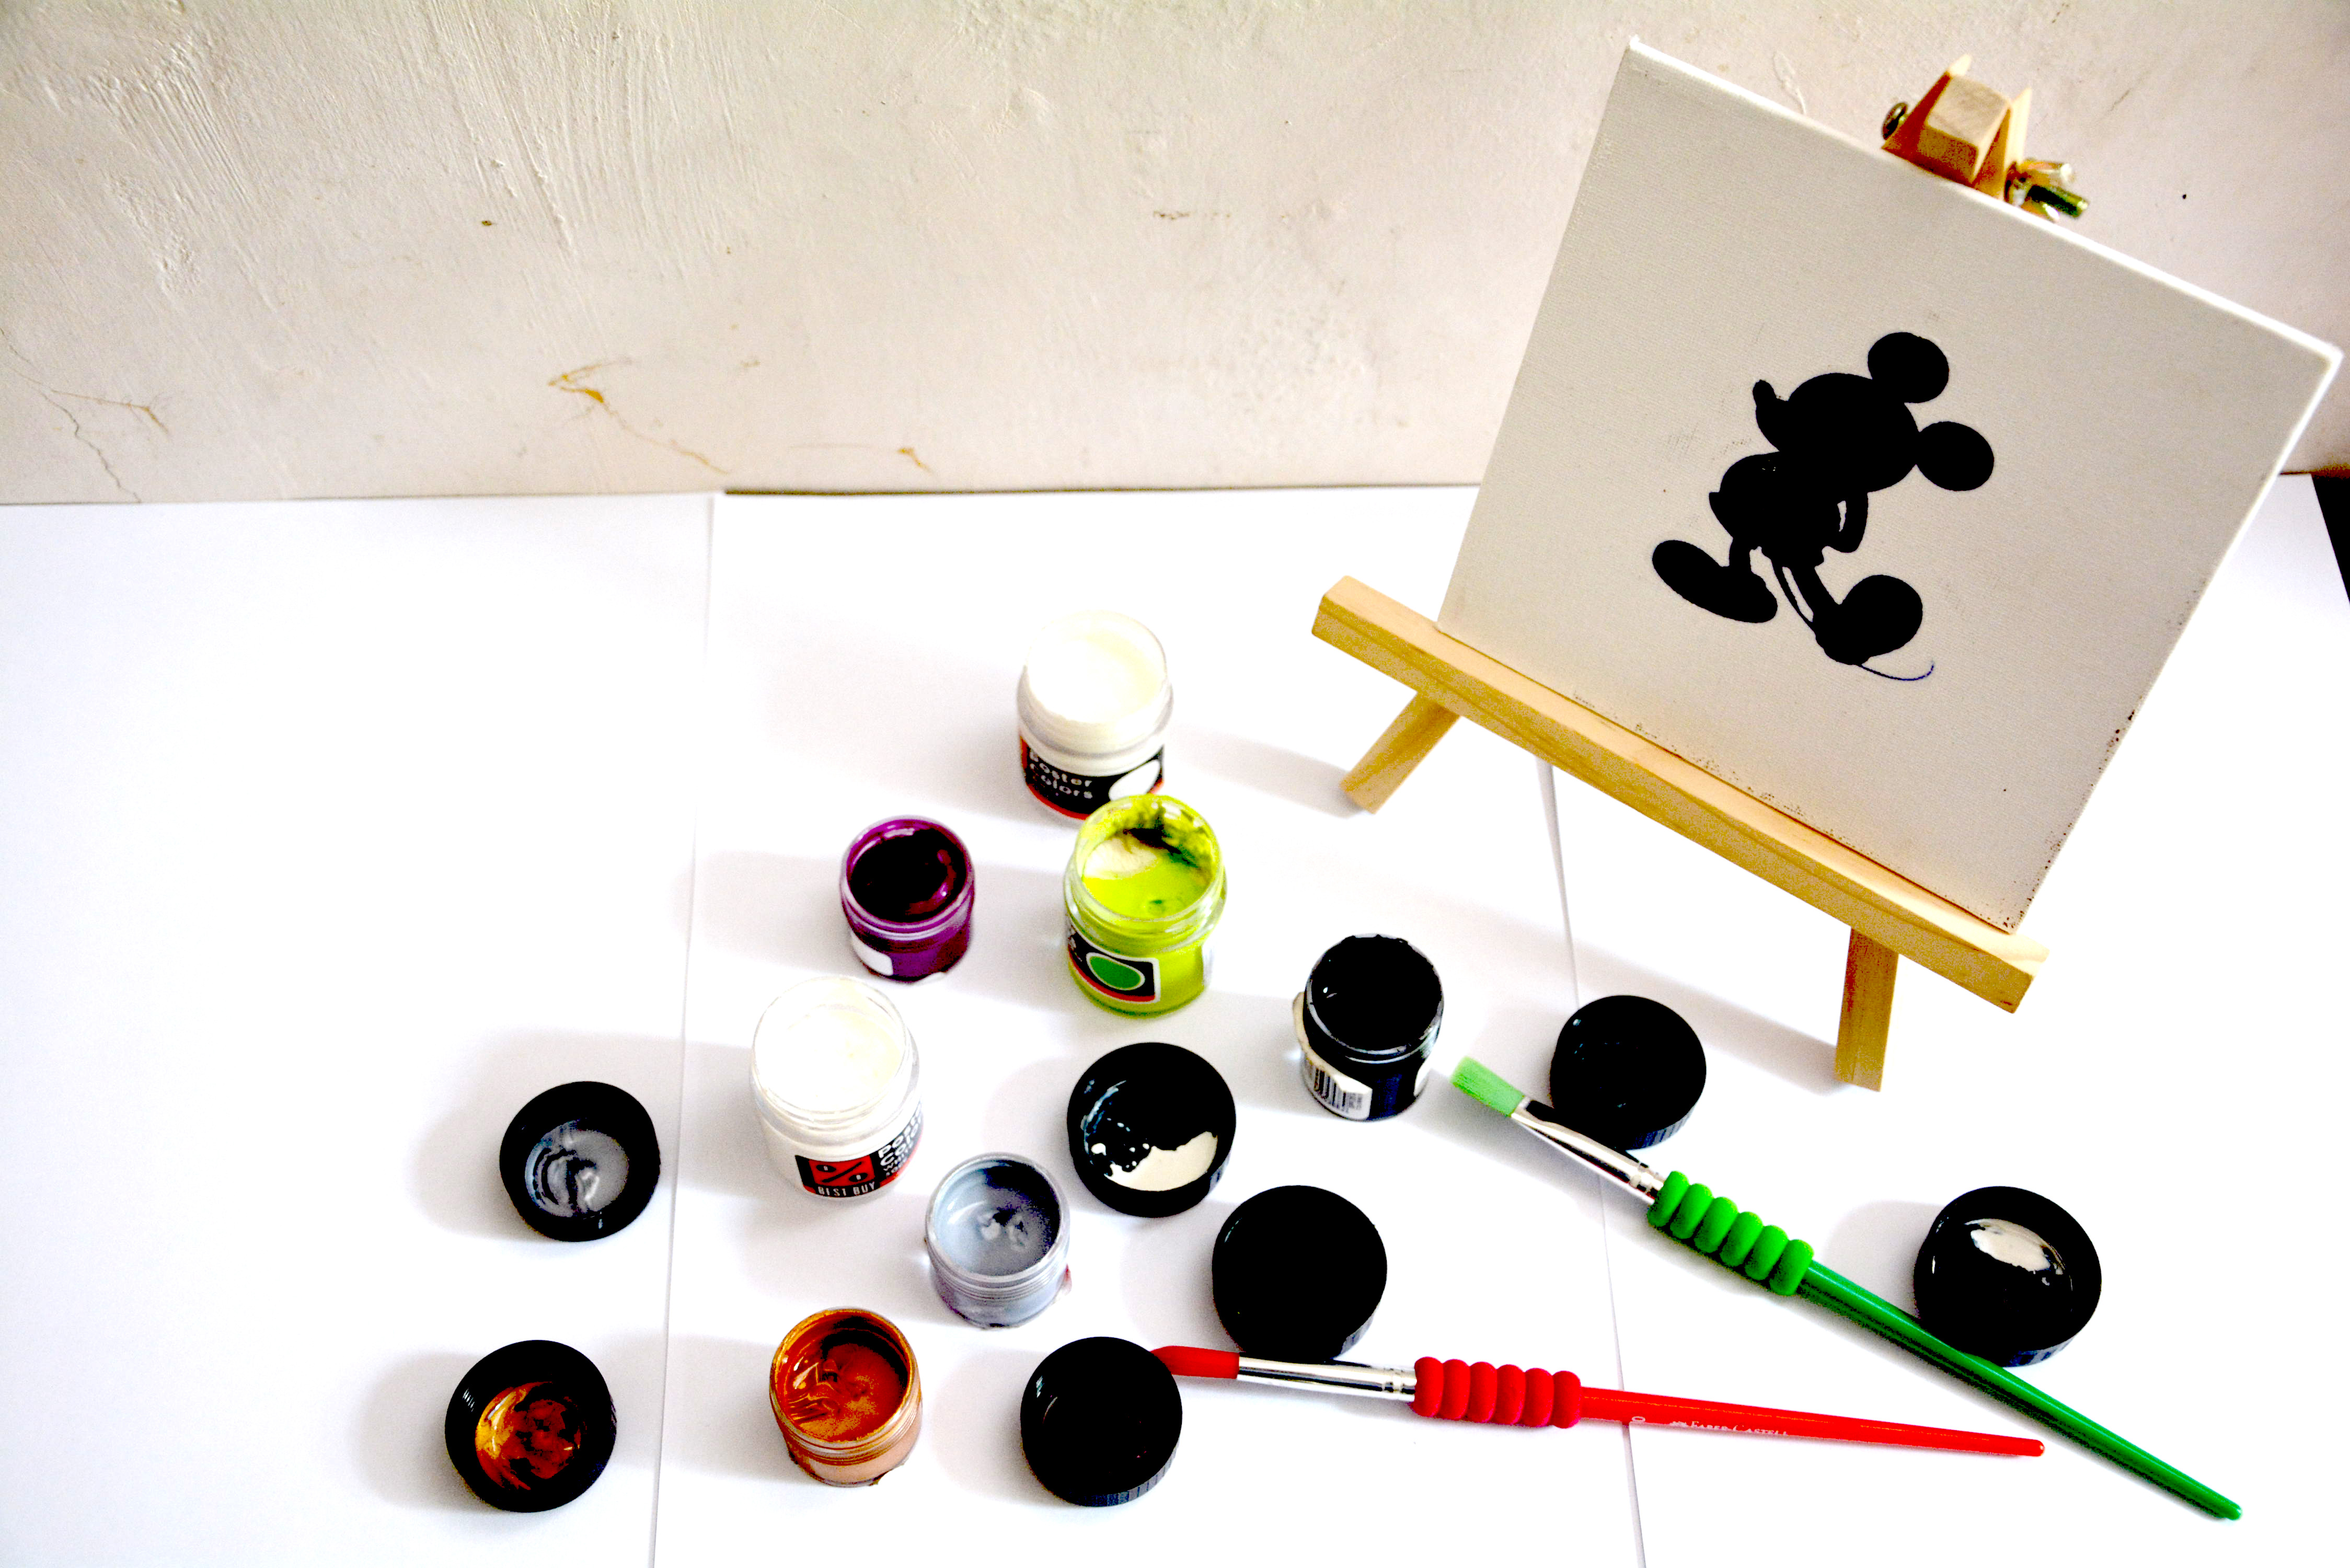
Ever since the Iron-on T-shirt Printing project, I’ve been looking for other materials to which images may be transferred using the heat transfer paper. I found this cute 6″ x 6″ canvass with easel at a local supplies store and decided to try the same method on canvass. I’ve also wanted to work with silhouettes so I thought of incorporating it in the project as well. The result? A pseudo-painting!
When working with silhouettes, the most important thing to consider is that the image is recognizable. For this project, I chose an image from clipartsheep.com of the very first cartoon character I knew as a kid–Mickey Mouse! (Who doesn’t recognize the ears?!)
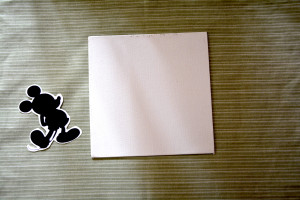
I did a boo-boo on this one and forgot to print the mirror image of the design on the transfer paper. Other than that, I repeated the same procedure I made in my previous post here.


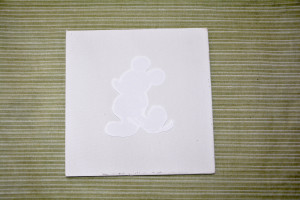
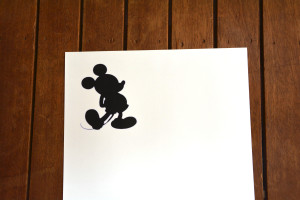
After placing the design, I set the iron to near maximum and started ironing the transfer paper focusing especially on the edges. After letting it cool, I peeled the paper and:


