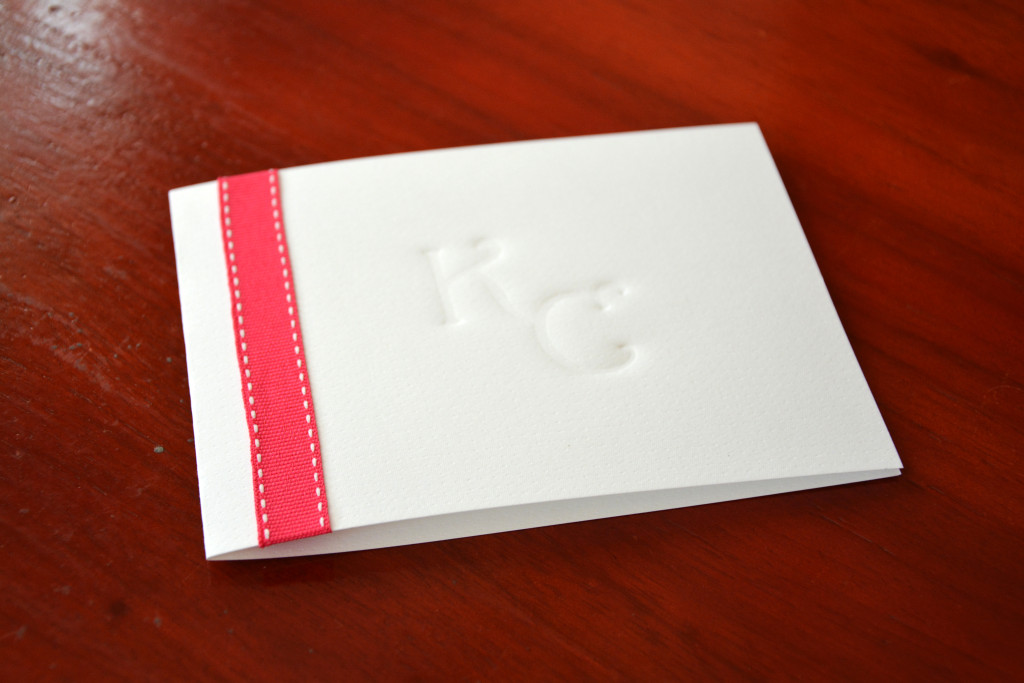
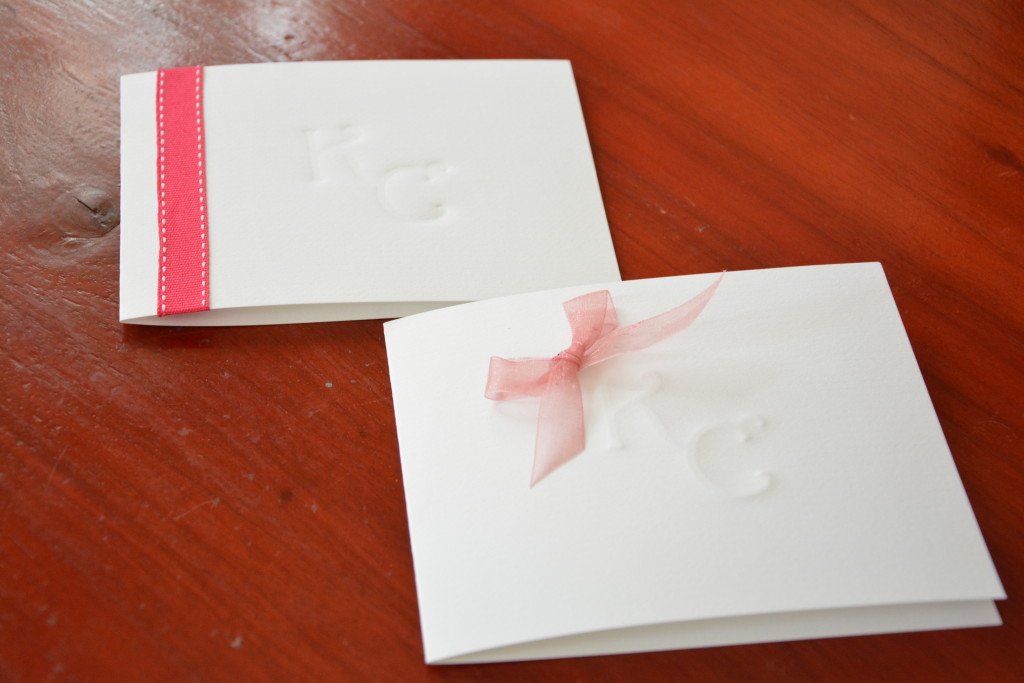
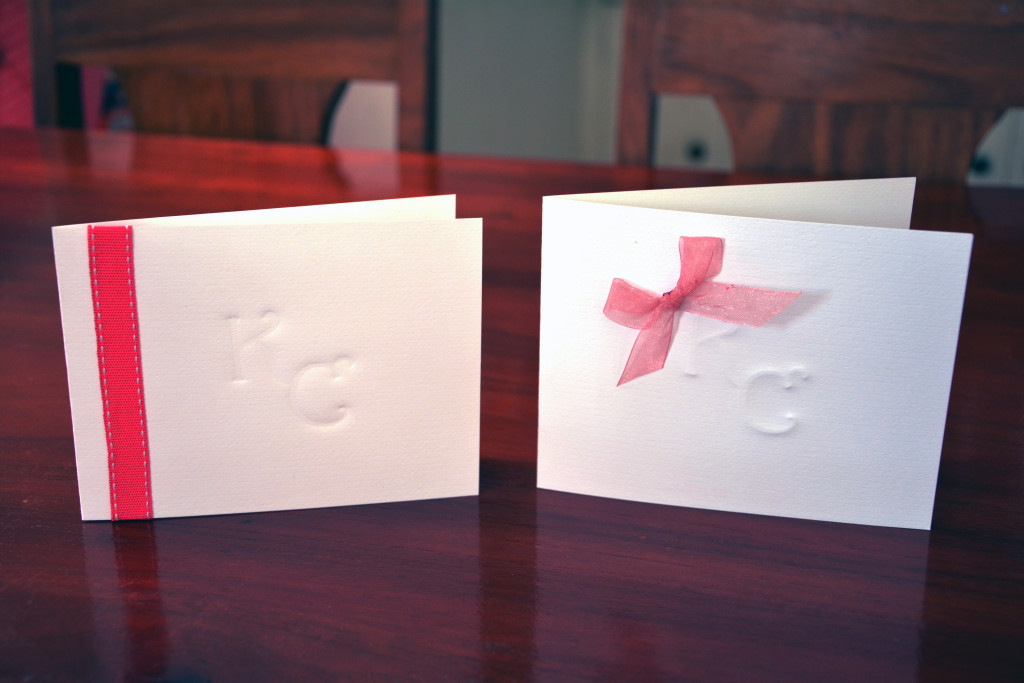
Monograms always give any invitation or project a personalized touch but it’s frustrating how limited monograms can be used in projects to cutting, stenciling, stamping, and printing simply because there aren’t embossing folders for individual letters out there, more so monograms (If you have seen one, please please post a link below!).
But , lo and behold, we aren’t crafters for nothing! Here’s a DIY hack to making your own embossing die.
WHAT YOU NEED:
- monogram either cut manually or by cutting machine
- cardstock
- adhesive/glue
- embossing machine
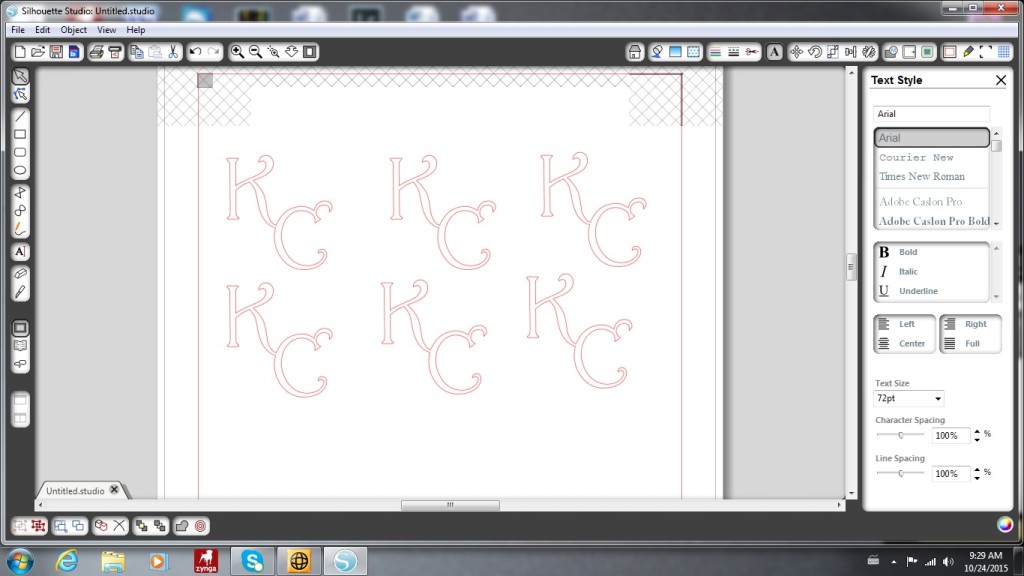
I created my monogram by welding two letters (K’s and my initials) on the Silhouette Studio, duplicated the design (6 for good measure since i did’t know how many I needed to get the right thickness) and cut the design on cardstock using the cutting machine.
Once cut, stack the monograms (i stacked about 5) then glue together.
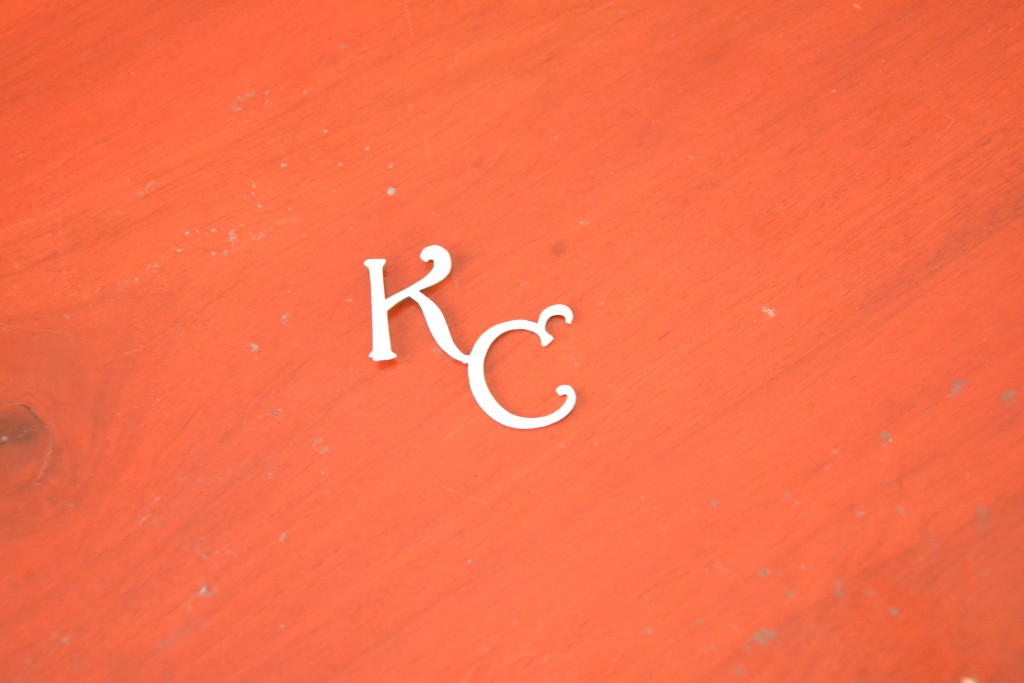
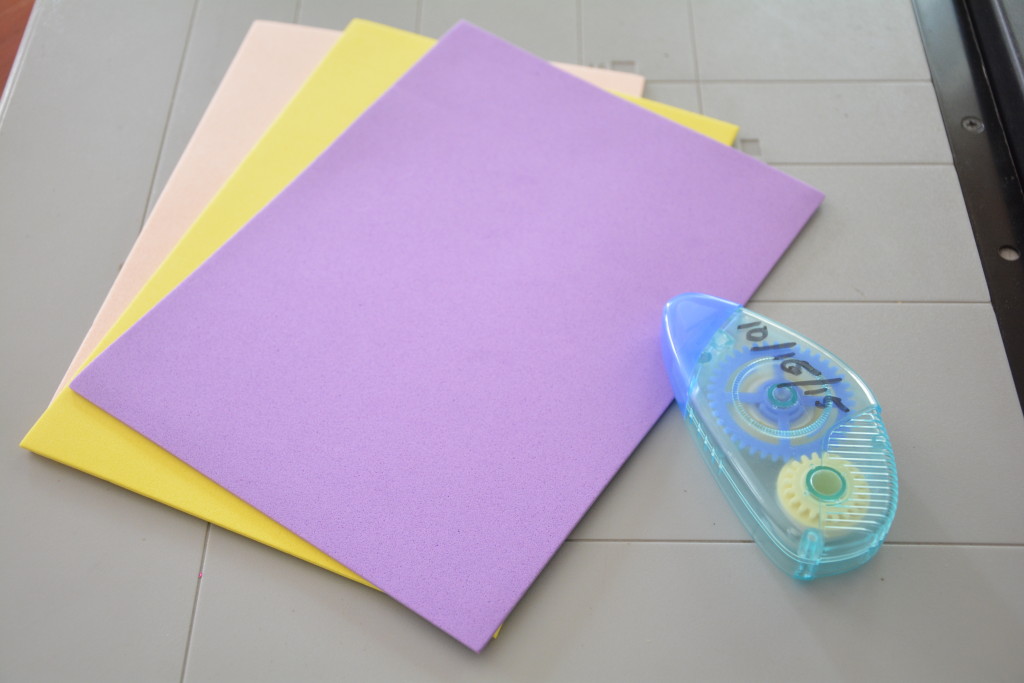
I DIYed my impressions pad as well using three craft foams which i glued together.
Now, were ready to emboss/deboss.
For EMBOSSING, stack the following in order:
- Plate A (Clear plate)
- Monogram
- Cardstock
- Foam (or impressions pad if you have one)
- Plate B (2nd Clear plate)
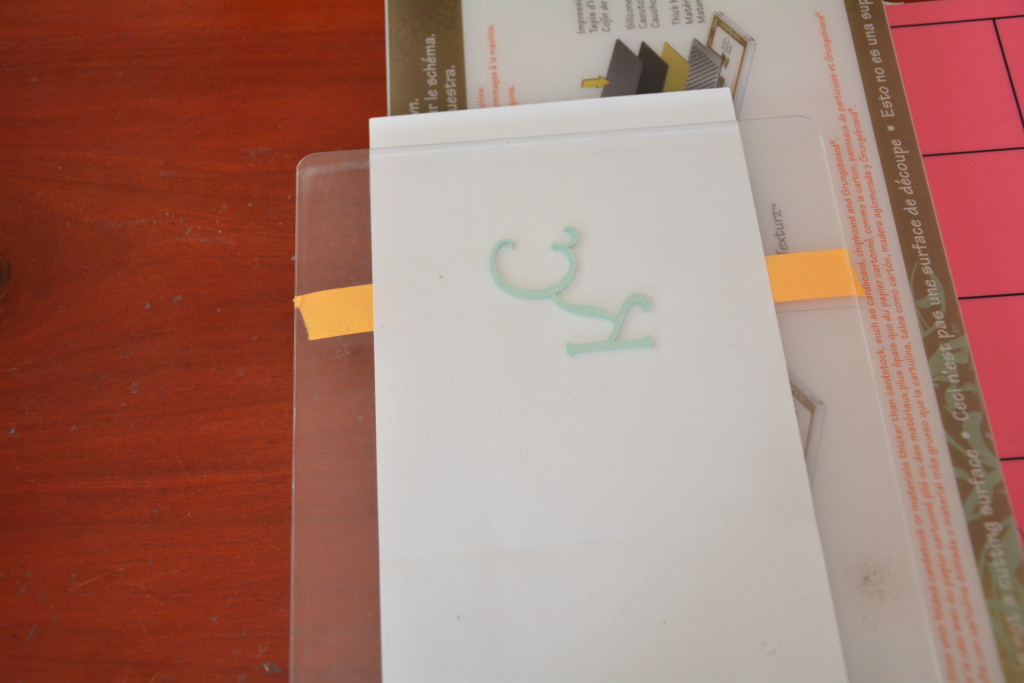
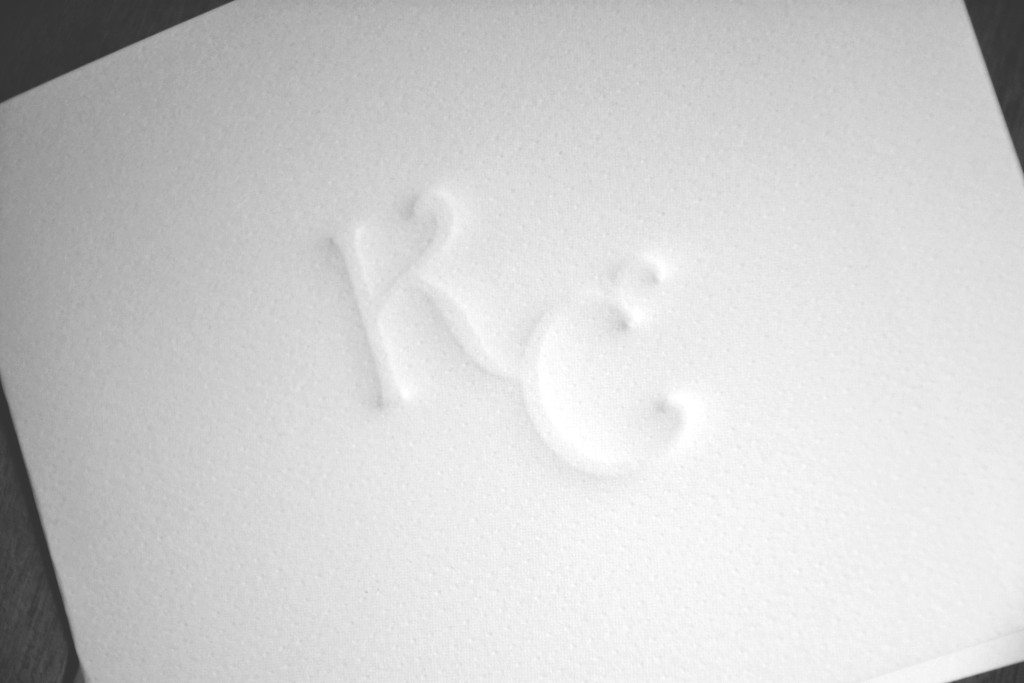
Run the stack through the embossing machine and you’ll get an embossed monogram!
For DEBOSSING, stack the following in order:
- Plate A (Clear plate)
- Monogram (REVERSED–see pic below)
- Cardstock
- Foam (or impressions pad if you have one)
- Plate B (2nd Clear plate)
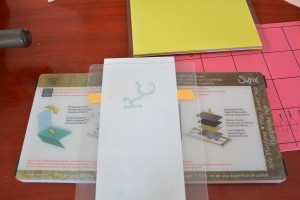
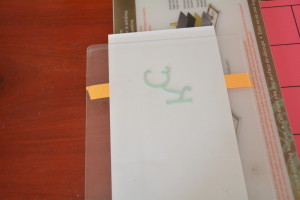
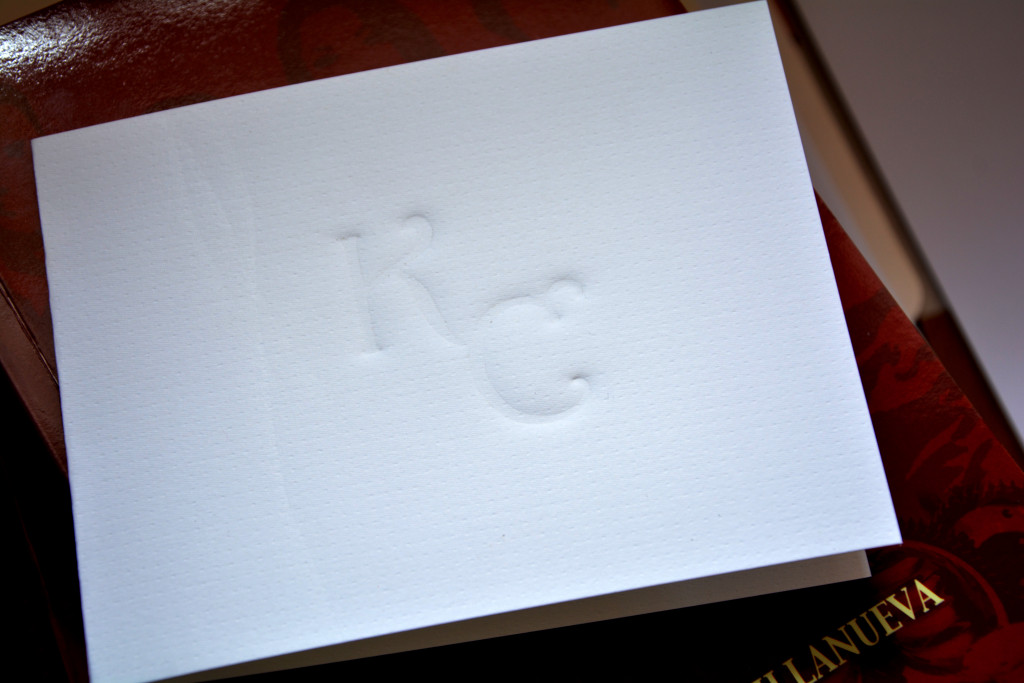
Run through the machine and…
I think debossing made crisper lines, don’t you think?


