I used to wonder how crafters get straight paper/cardstock cuts. Starting out, I had an exacto knife and different sizes of scissors but none of those made professional looking cuts no matter the size or the brand. When I made my own wedding invites, I thought there’s no way I could “DIY” straight cuts so I thought of sending my cardstocks to someone who probably has a “machine” intended for cutting paper. Little did I know there’s a world of trimmers and cutters out there–thanks to YouTube, I am no longer in the dark and I saved a few bucks for cutting my own cardstocks!
Crafting supply brands have come up with various cutters all for the same purpose–to cut. Excluding electric cutting machines, paper cutters may be grouped into three types: the guillotine,the pointed blade paper trimmer, and the rotary blade paper trimmer.
Here is an example of a guillotine paper trimmer:
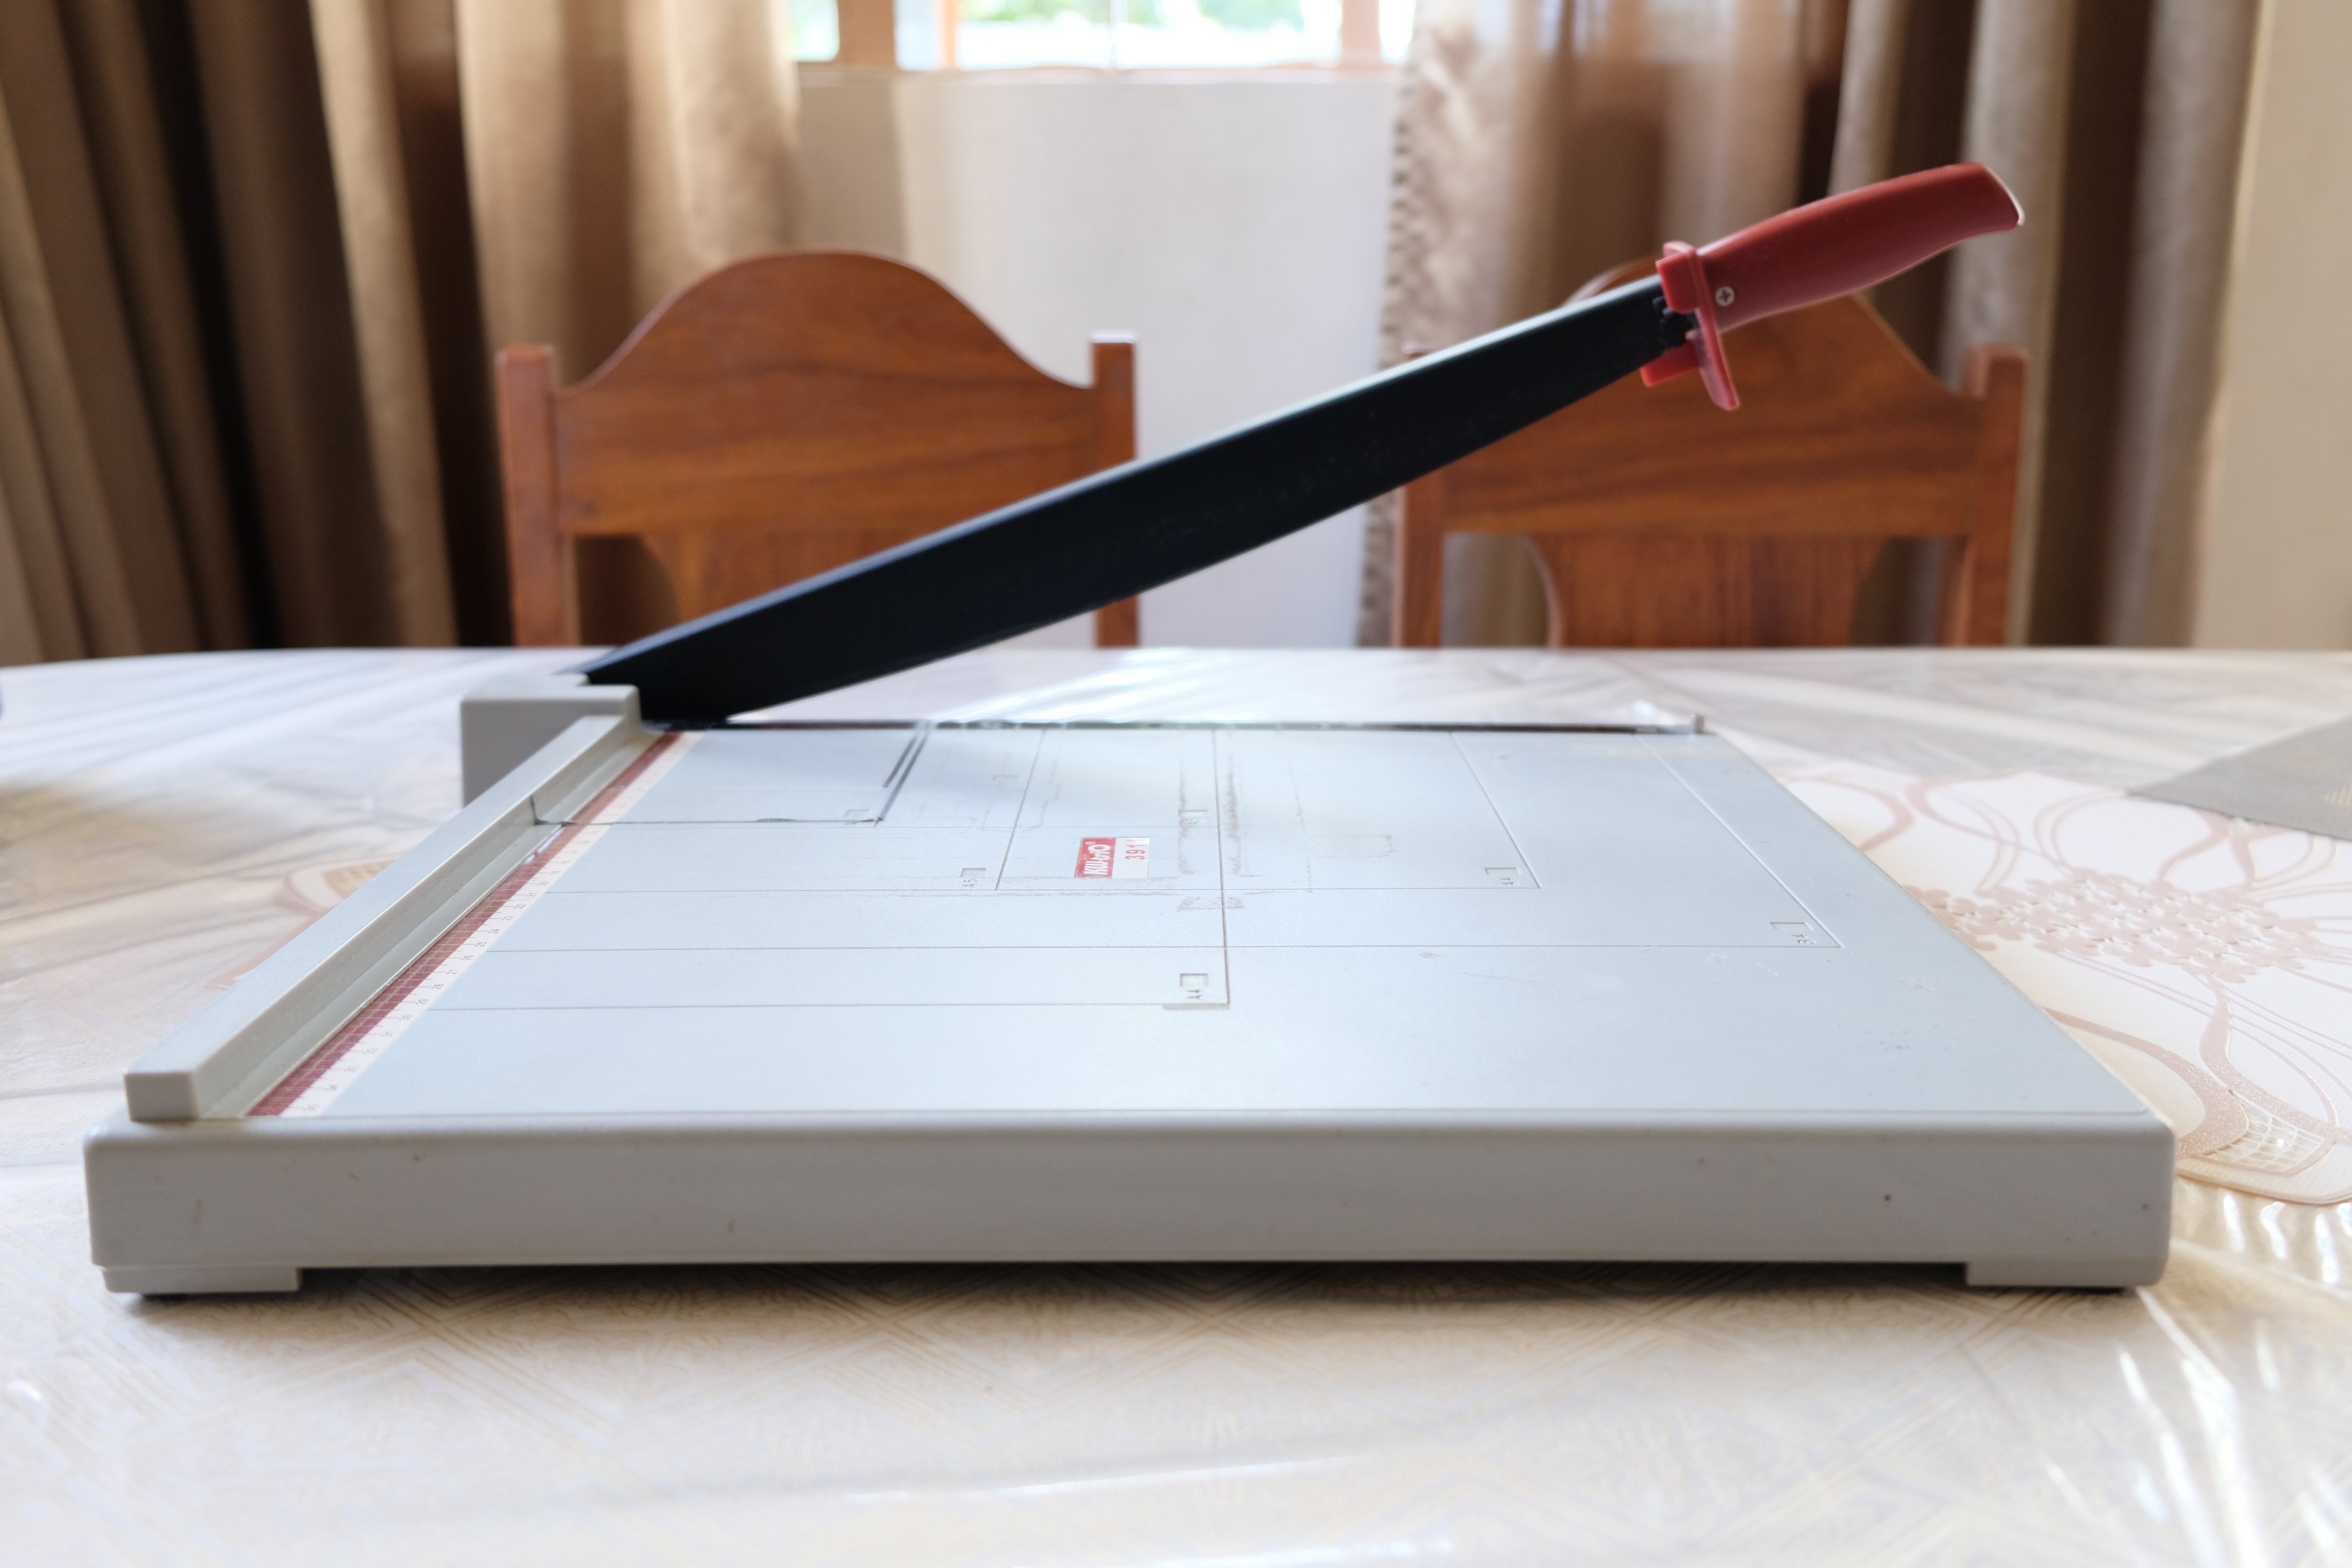
This type has a long sharp blade attached to the handle which you swing down to cut paper. I find the guillotine very useful when cutting thick cardstocks or when trimming out a thin portion of a paper. The result is always a crisp, smooth, and straight cut. The large blades last for a very long time unlike most paper trimmers which need replacement often depending on frequency of usage. This is my first paper trimmer and the very same one I used for my wedding invites. Three years later, it is still a very reliable tool when cutting both thin and thick paper.
However, some people avoid using the guillotine due to safety issues but many brands have already installed protective measures to keep your fingers from being cut accidentally. The downside of this type of trimmer, aside from safety issues, is that it takes quite a lot of space but you can find smaller, more safe versions of this type of cutter so you need not worry about the space it would take in your craft area. I hide mine under the treadmill!
Another type of cutter comes with a pointed blade:
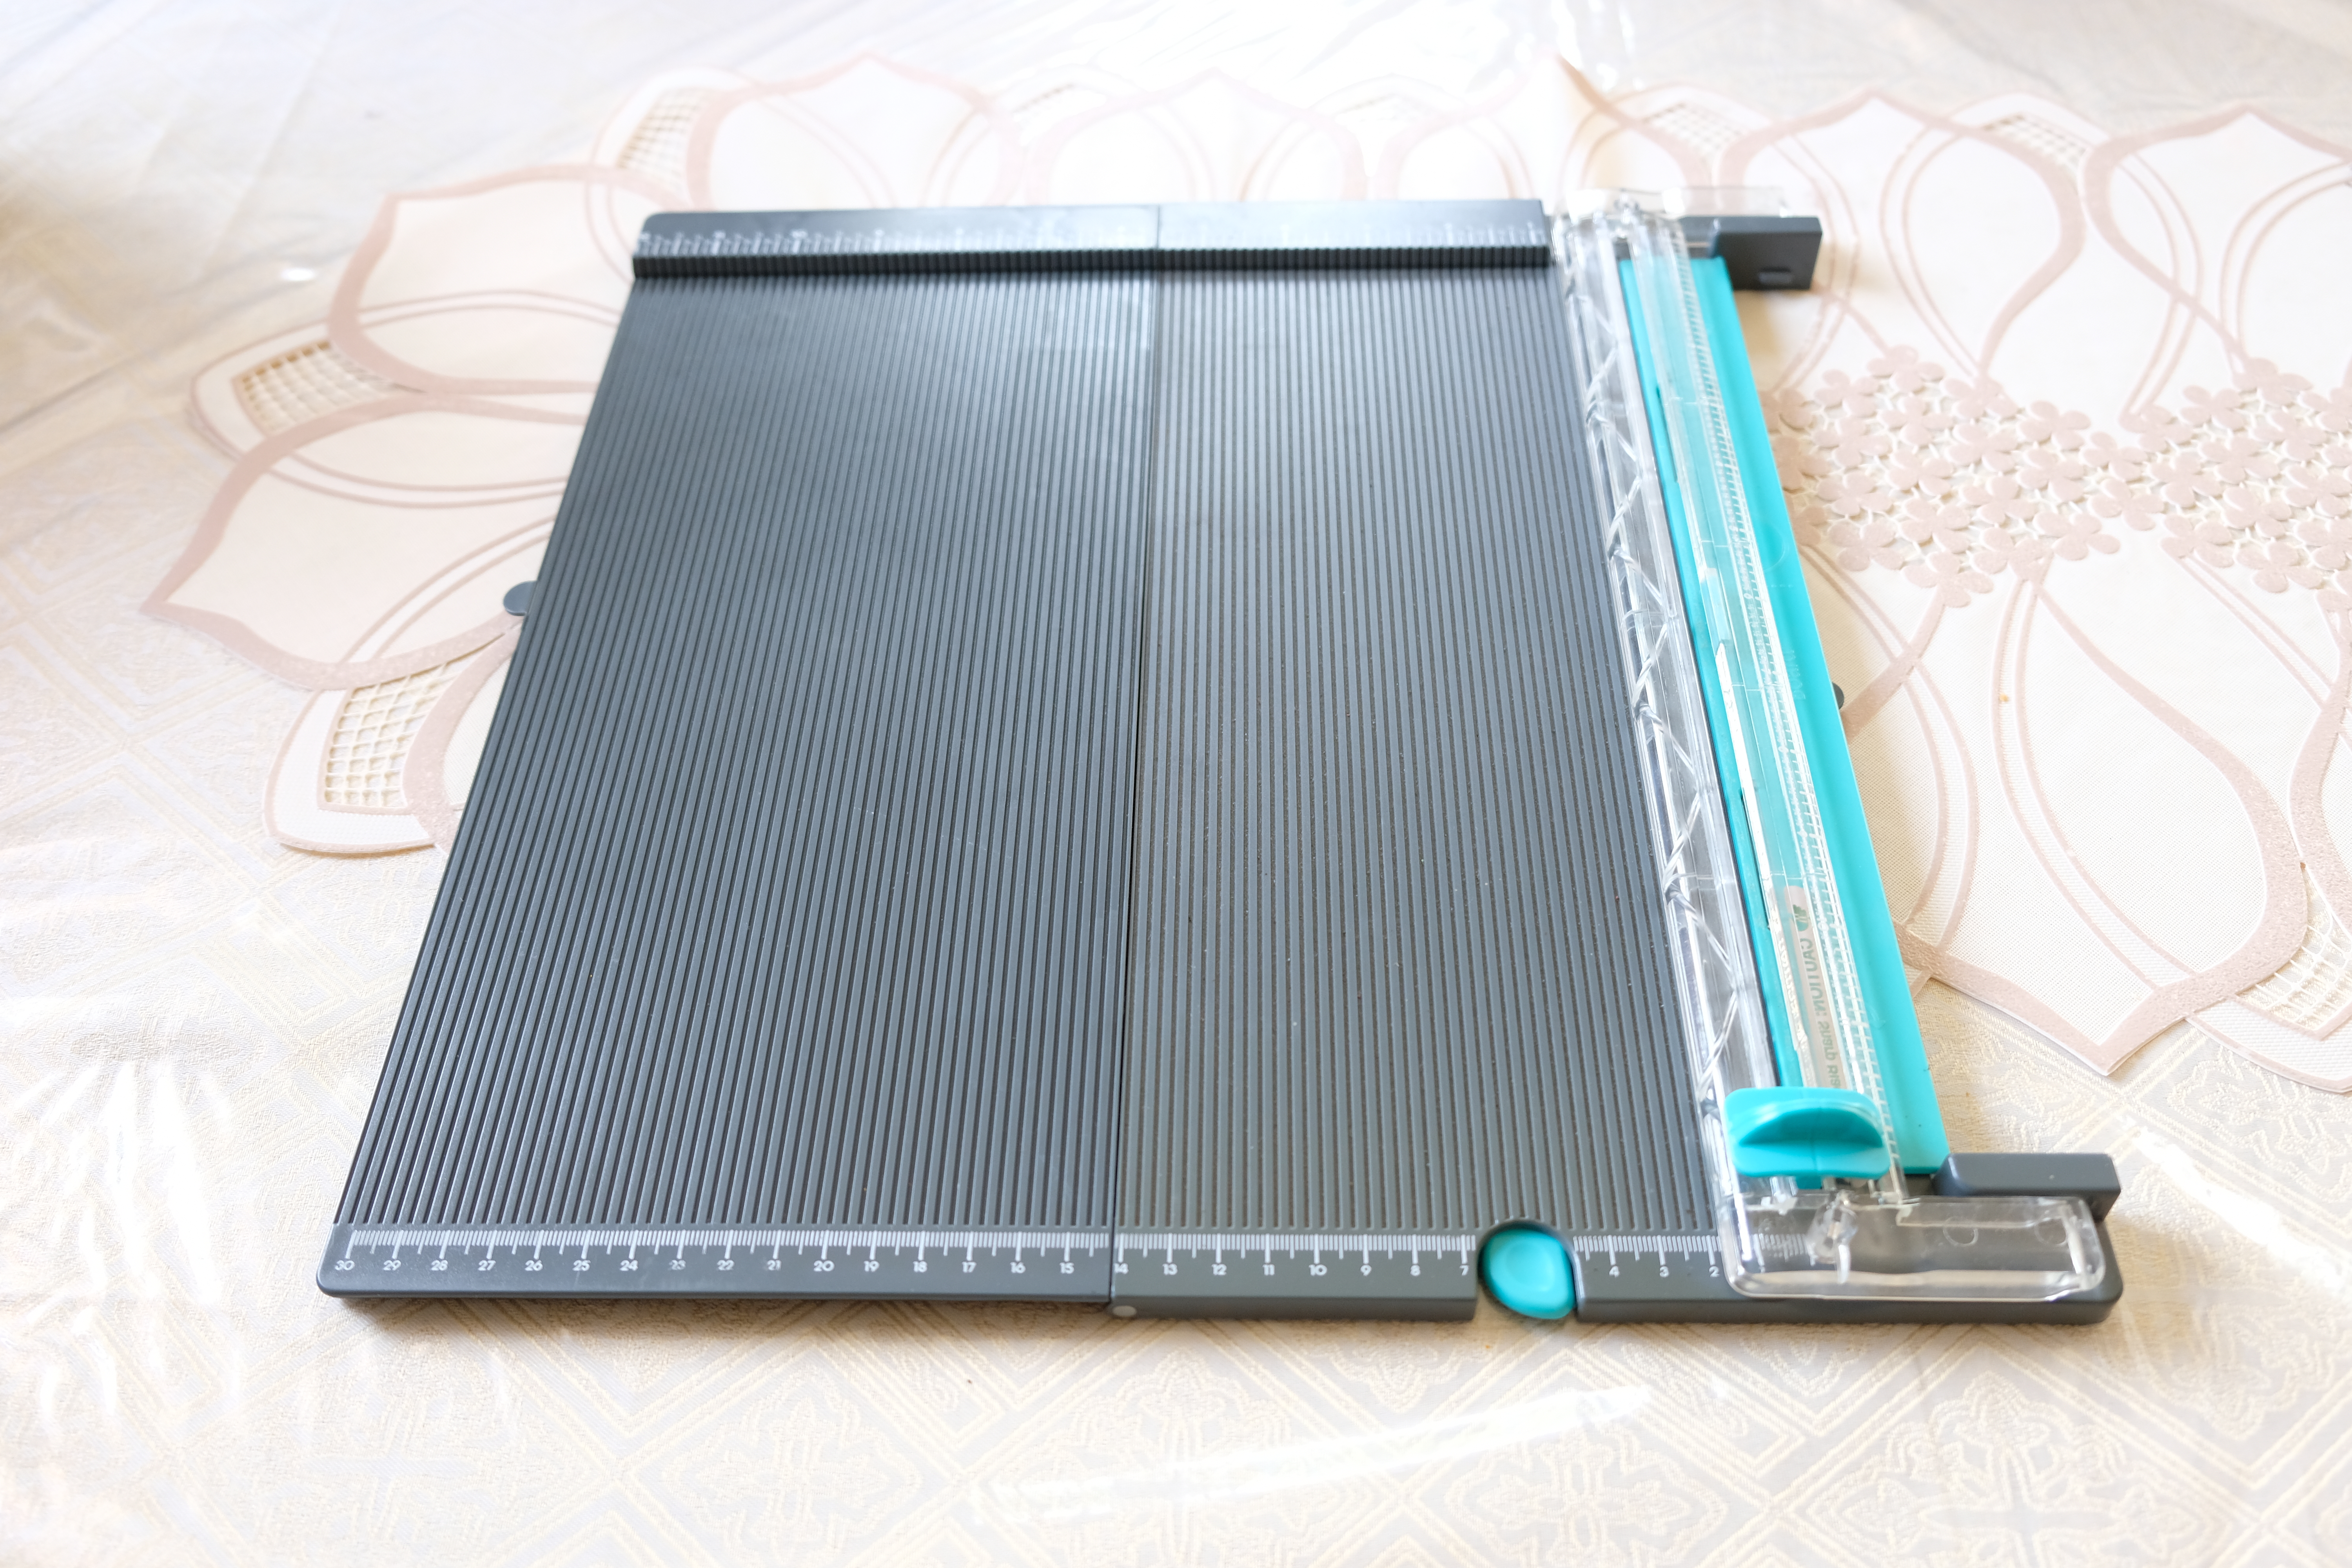
Some, like the one shown above comes with its own bone folder and score board.
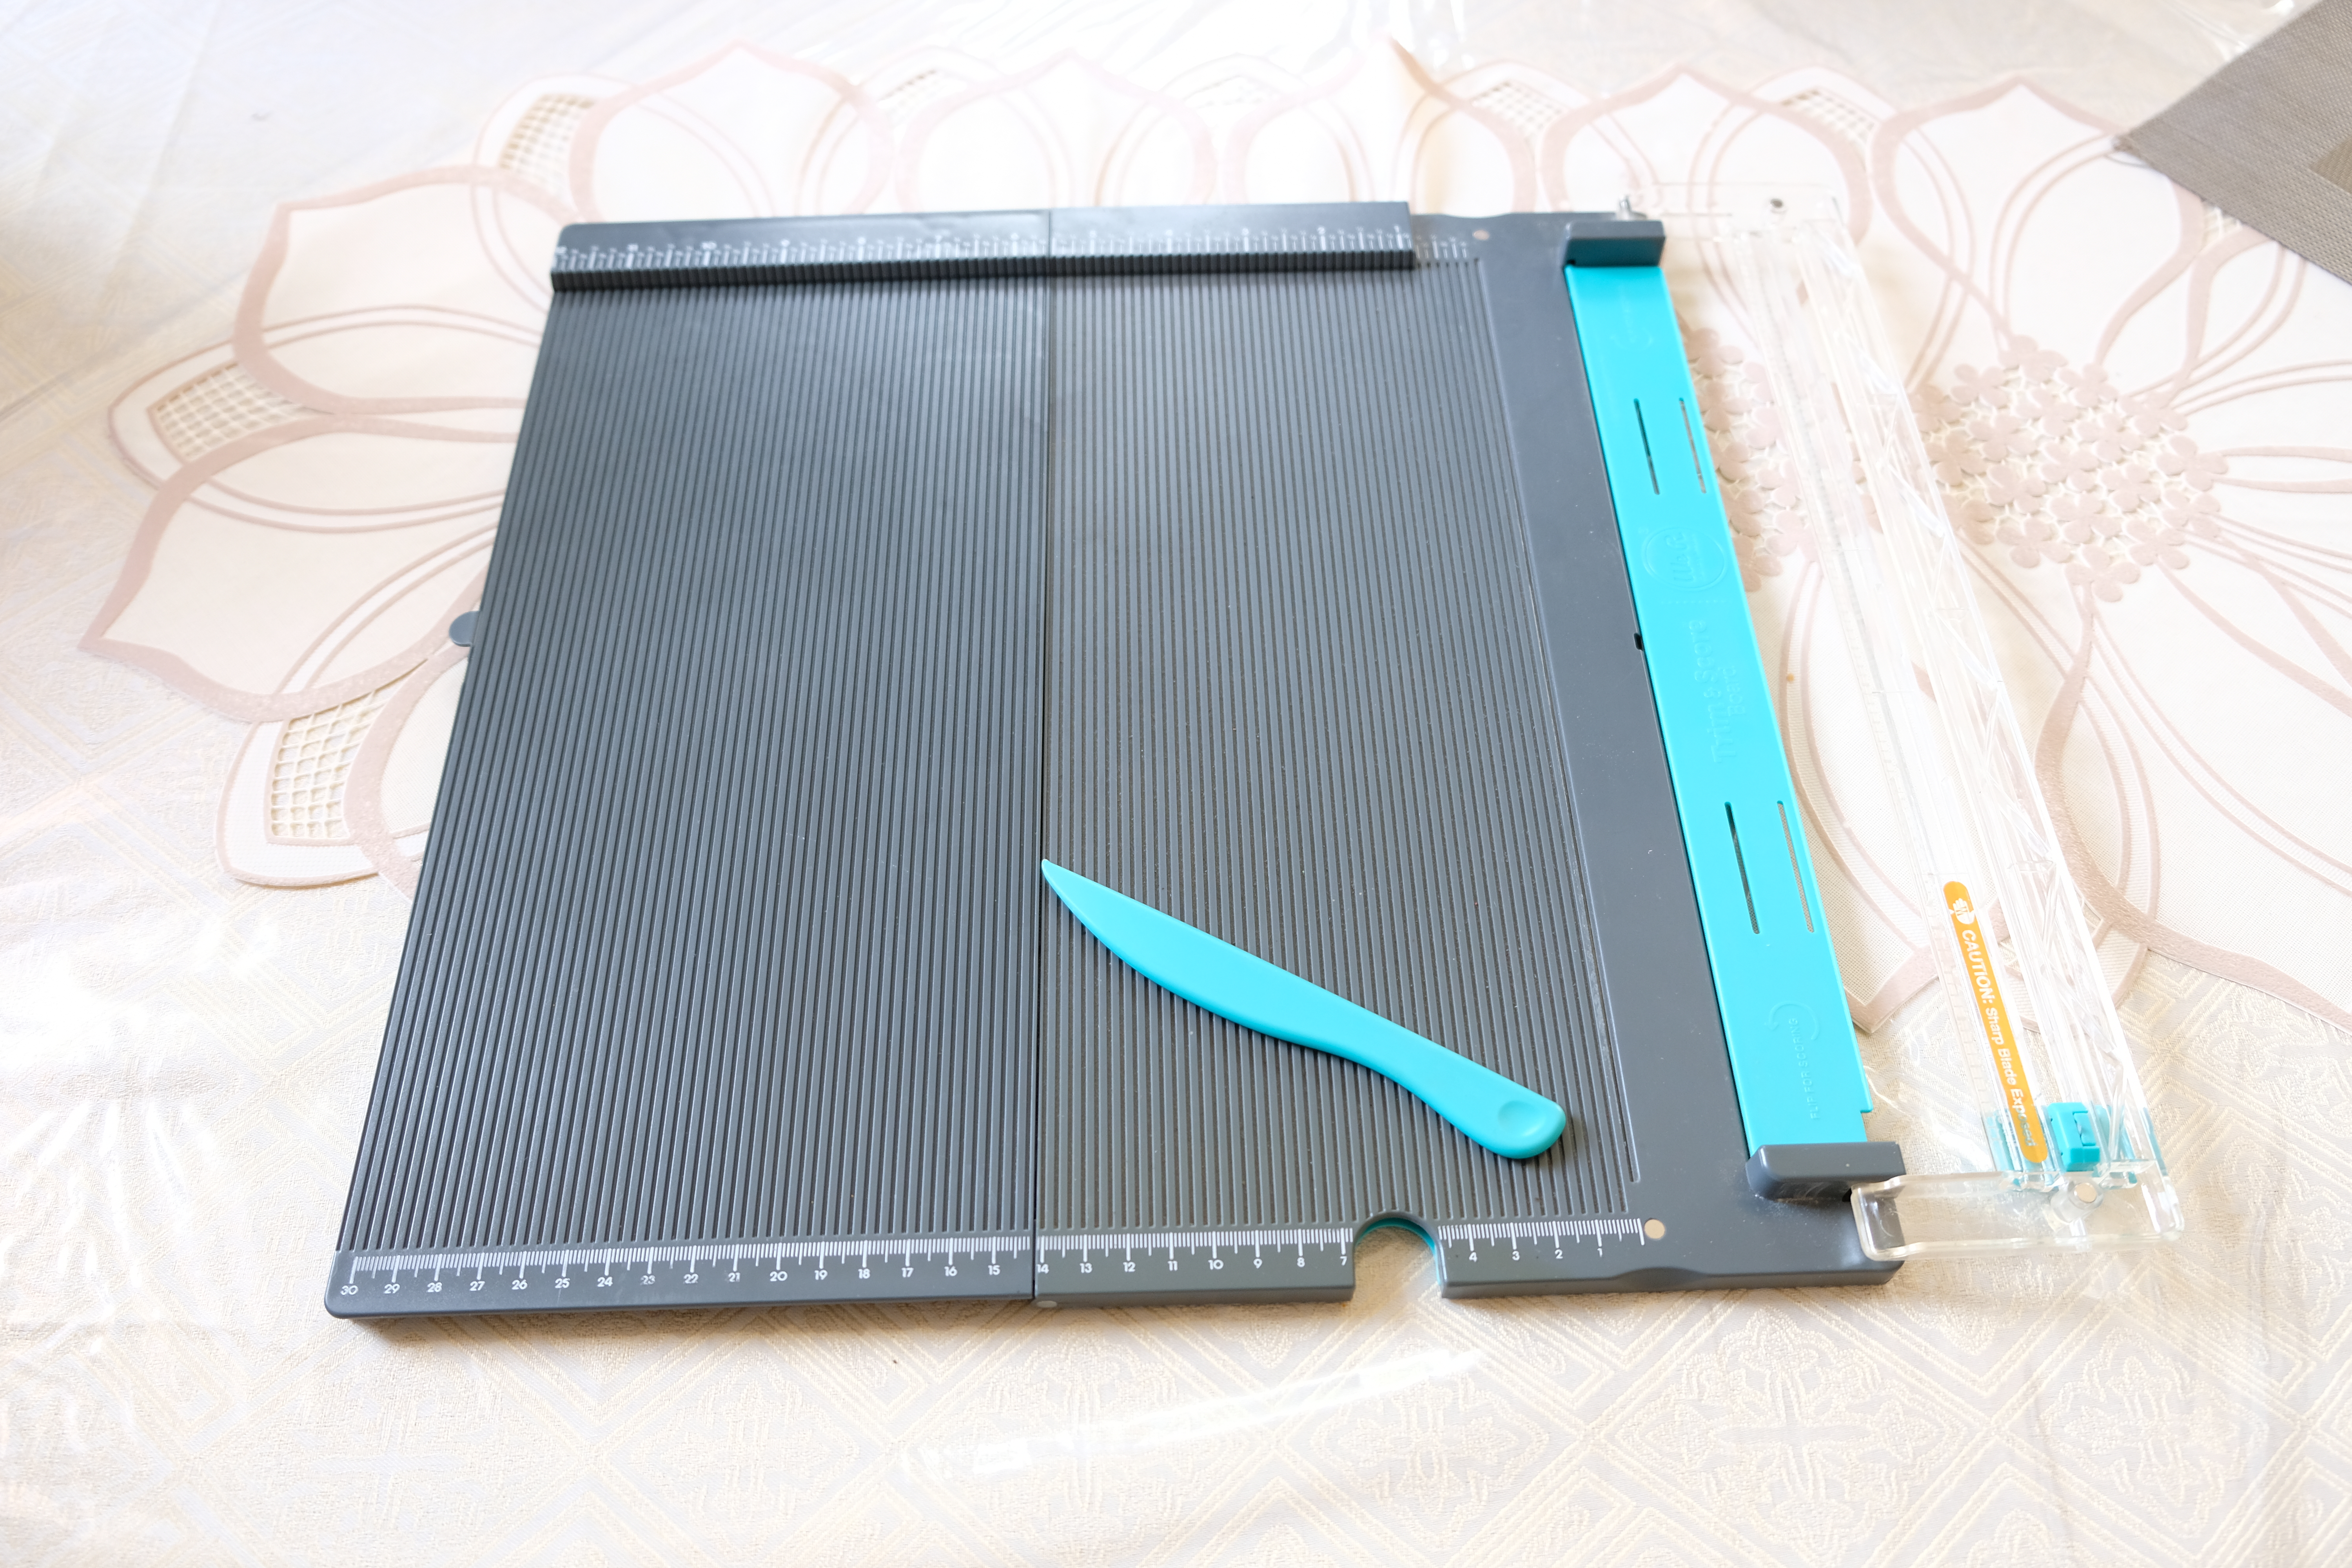
The trimmer has a blade which you drag across the paper to make the cut. This trimmer is generally safe considering that the blade is not exposed unlike the guillotine.
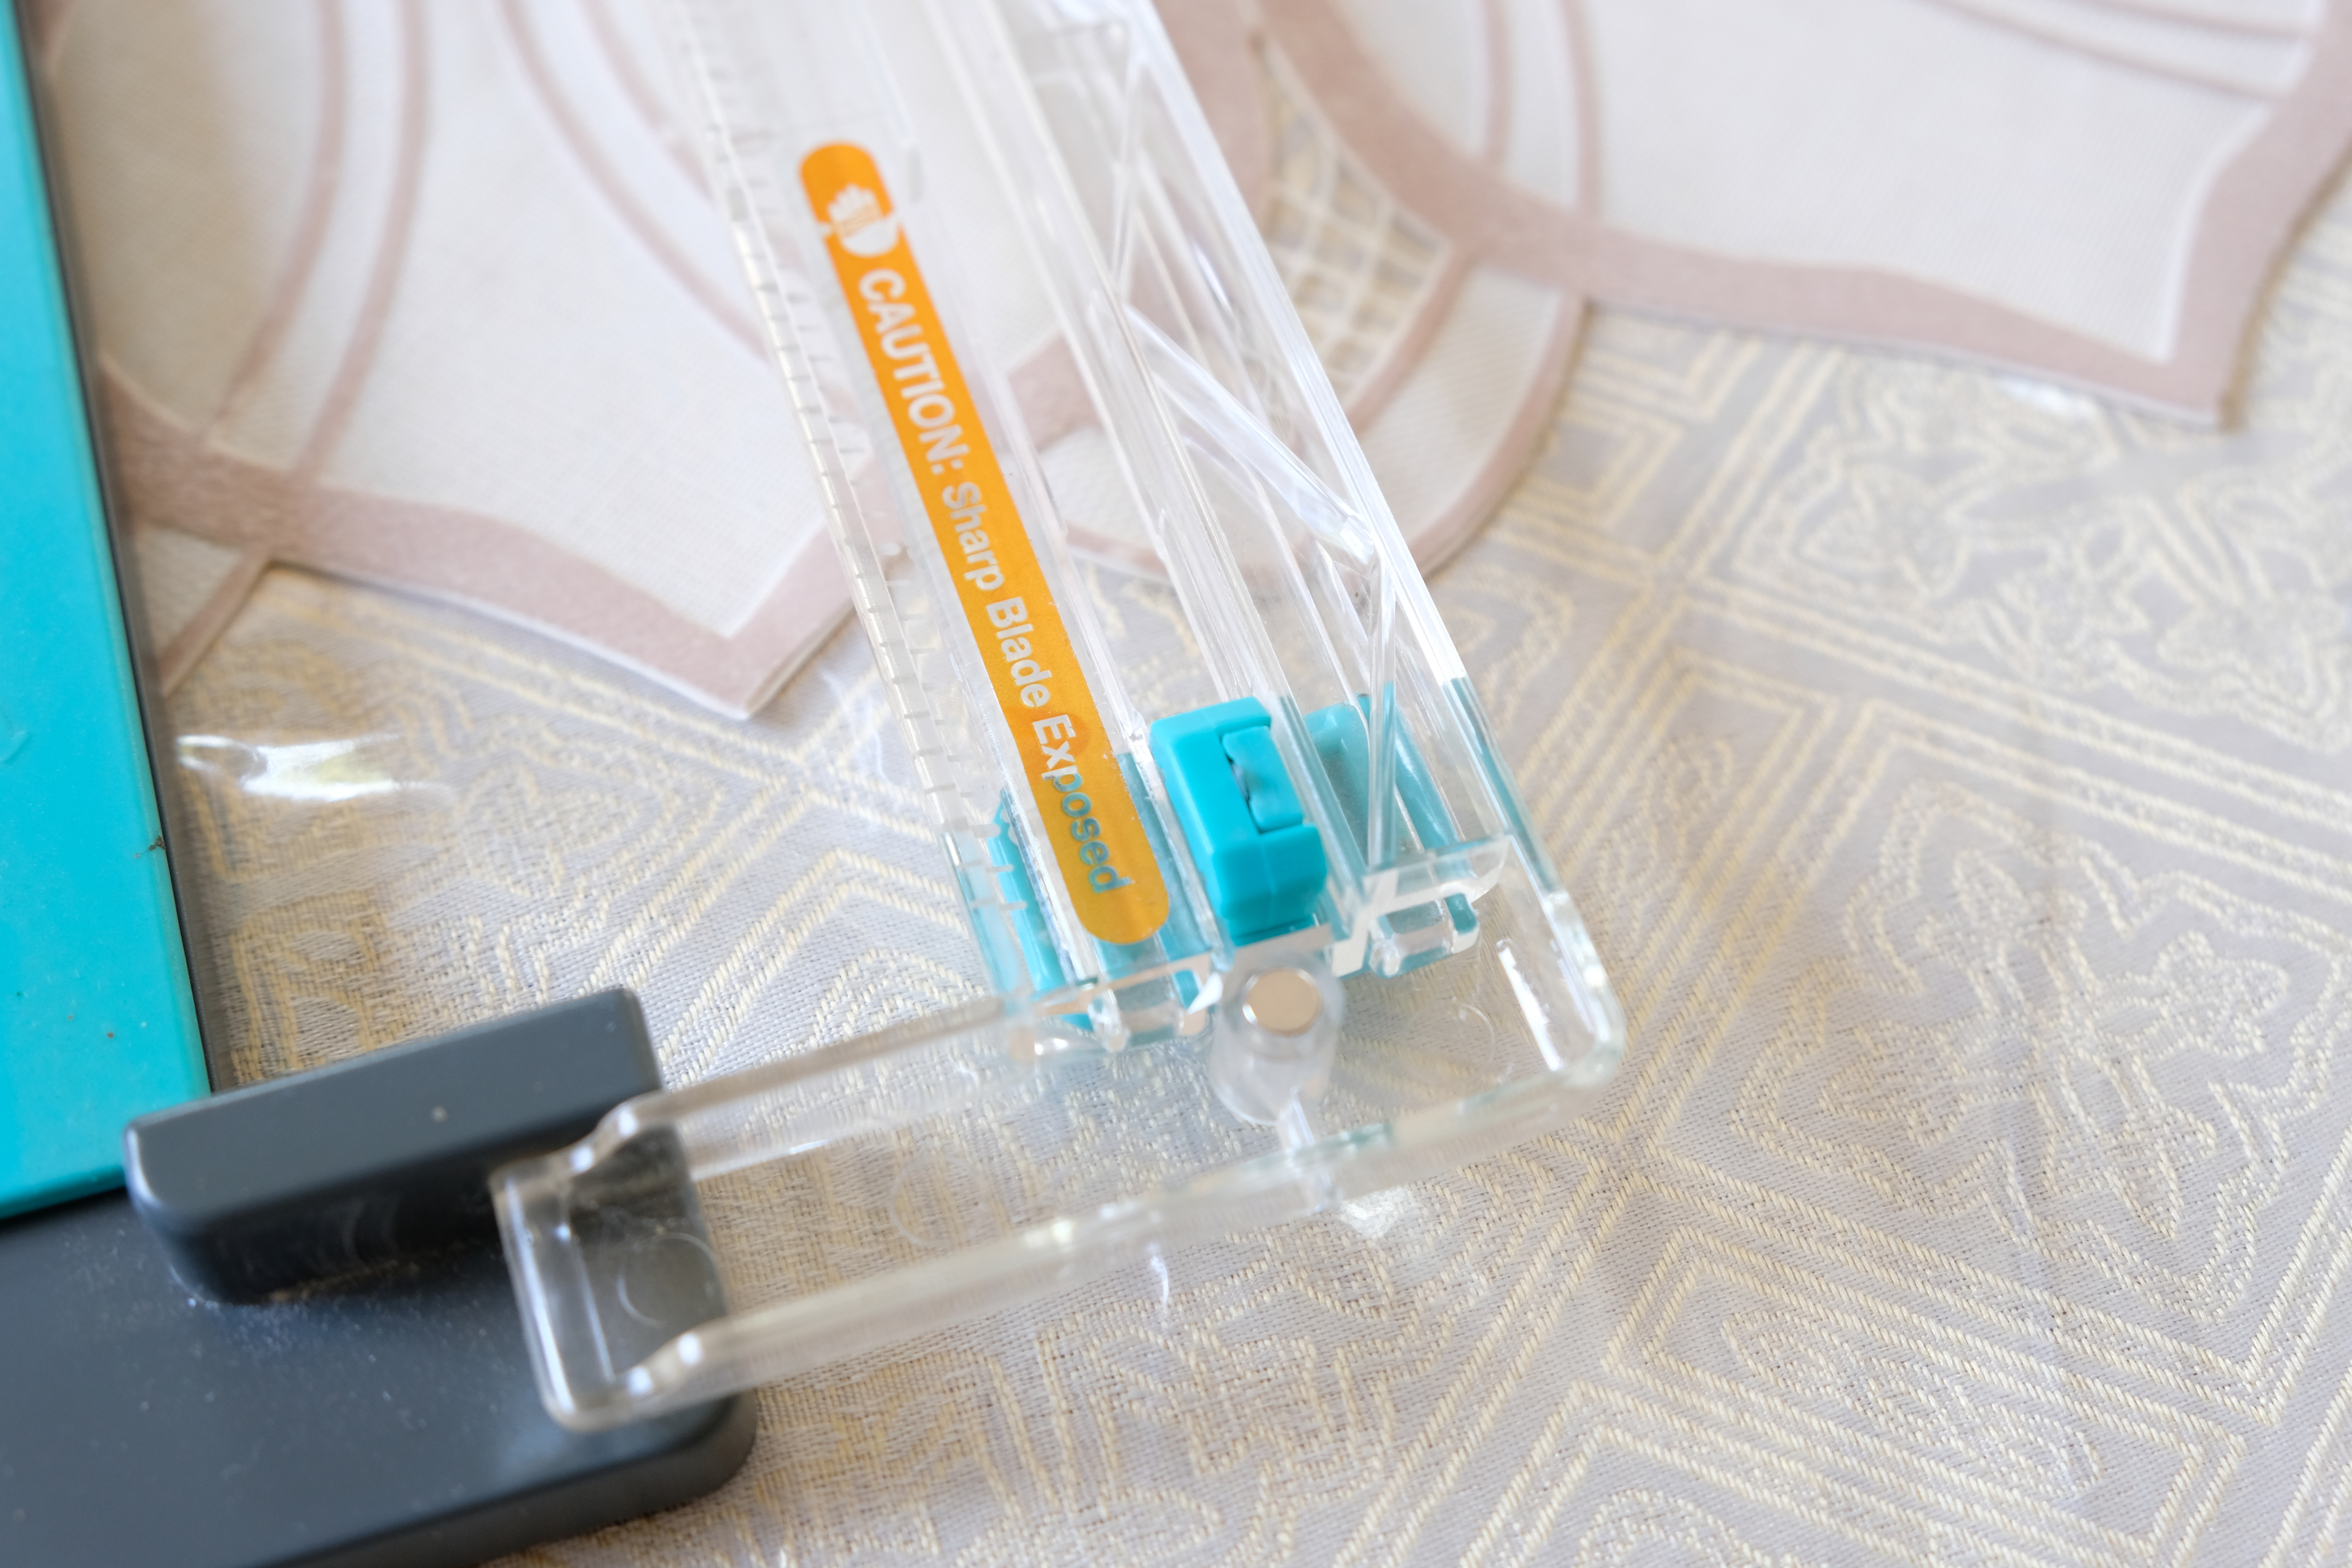
This is very easy to store and bring along with you when needed. However, I find that it doesn’t make as smooth and sharp cuts as the guillotine. I have replaced the blade twice before but even new ones don’t make smooth cuts as the guillotine. I still keep it in my craft space when I have quick projects since this is not very bulky and the score board comes in handy.
The third one, a rotary trimmer, looks like this:
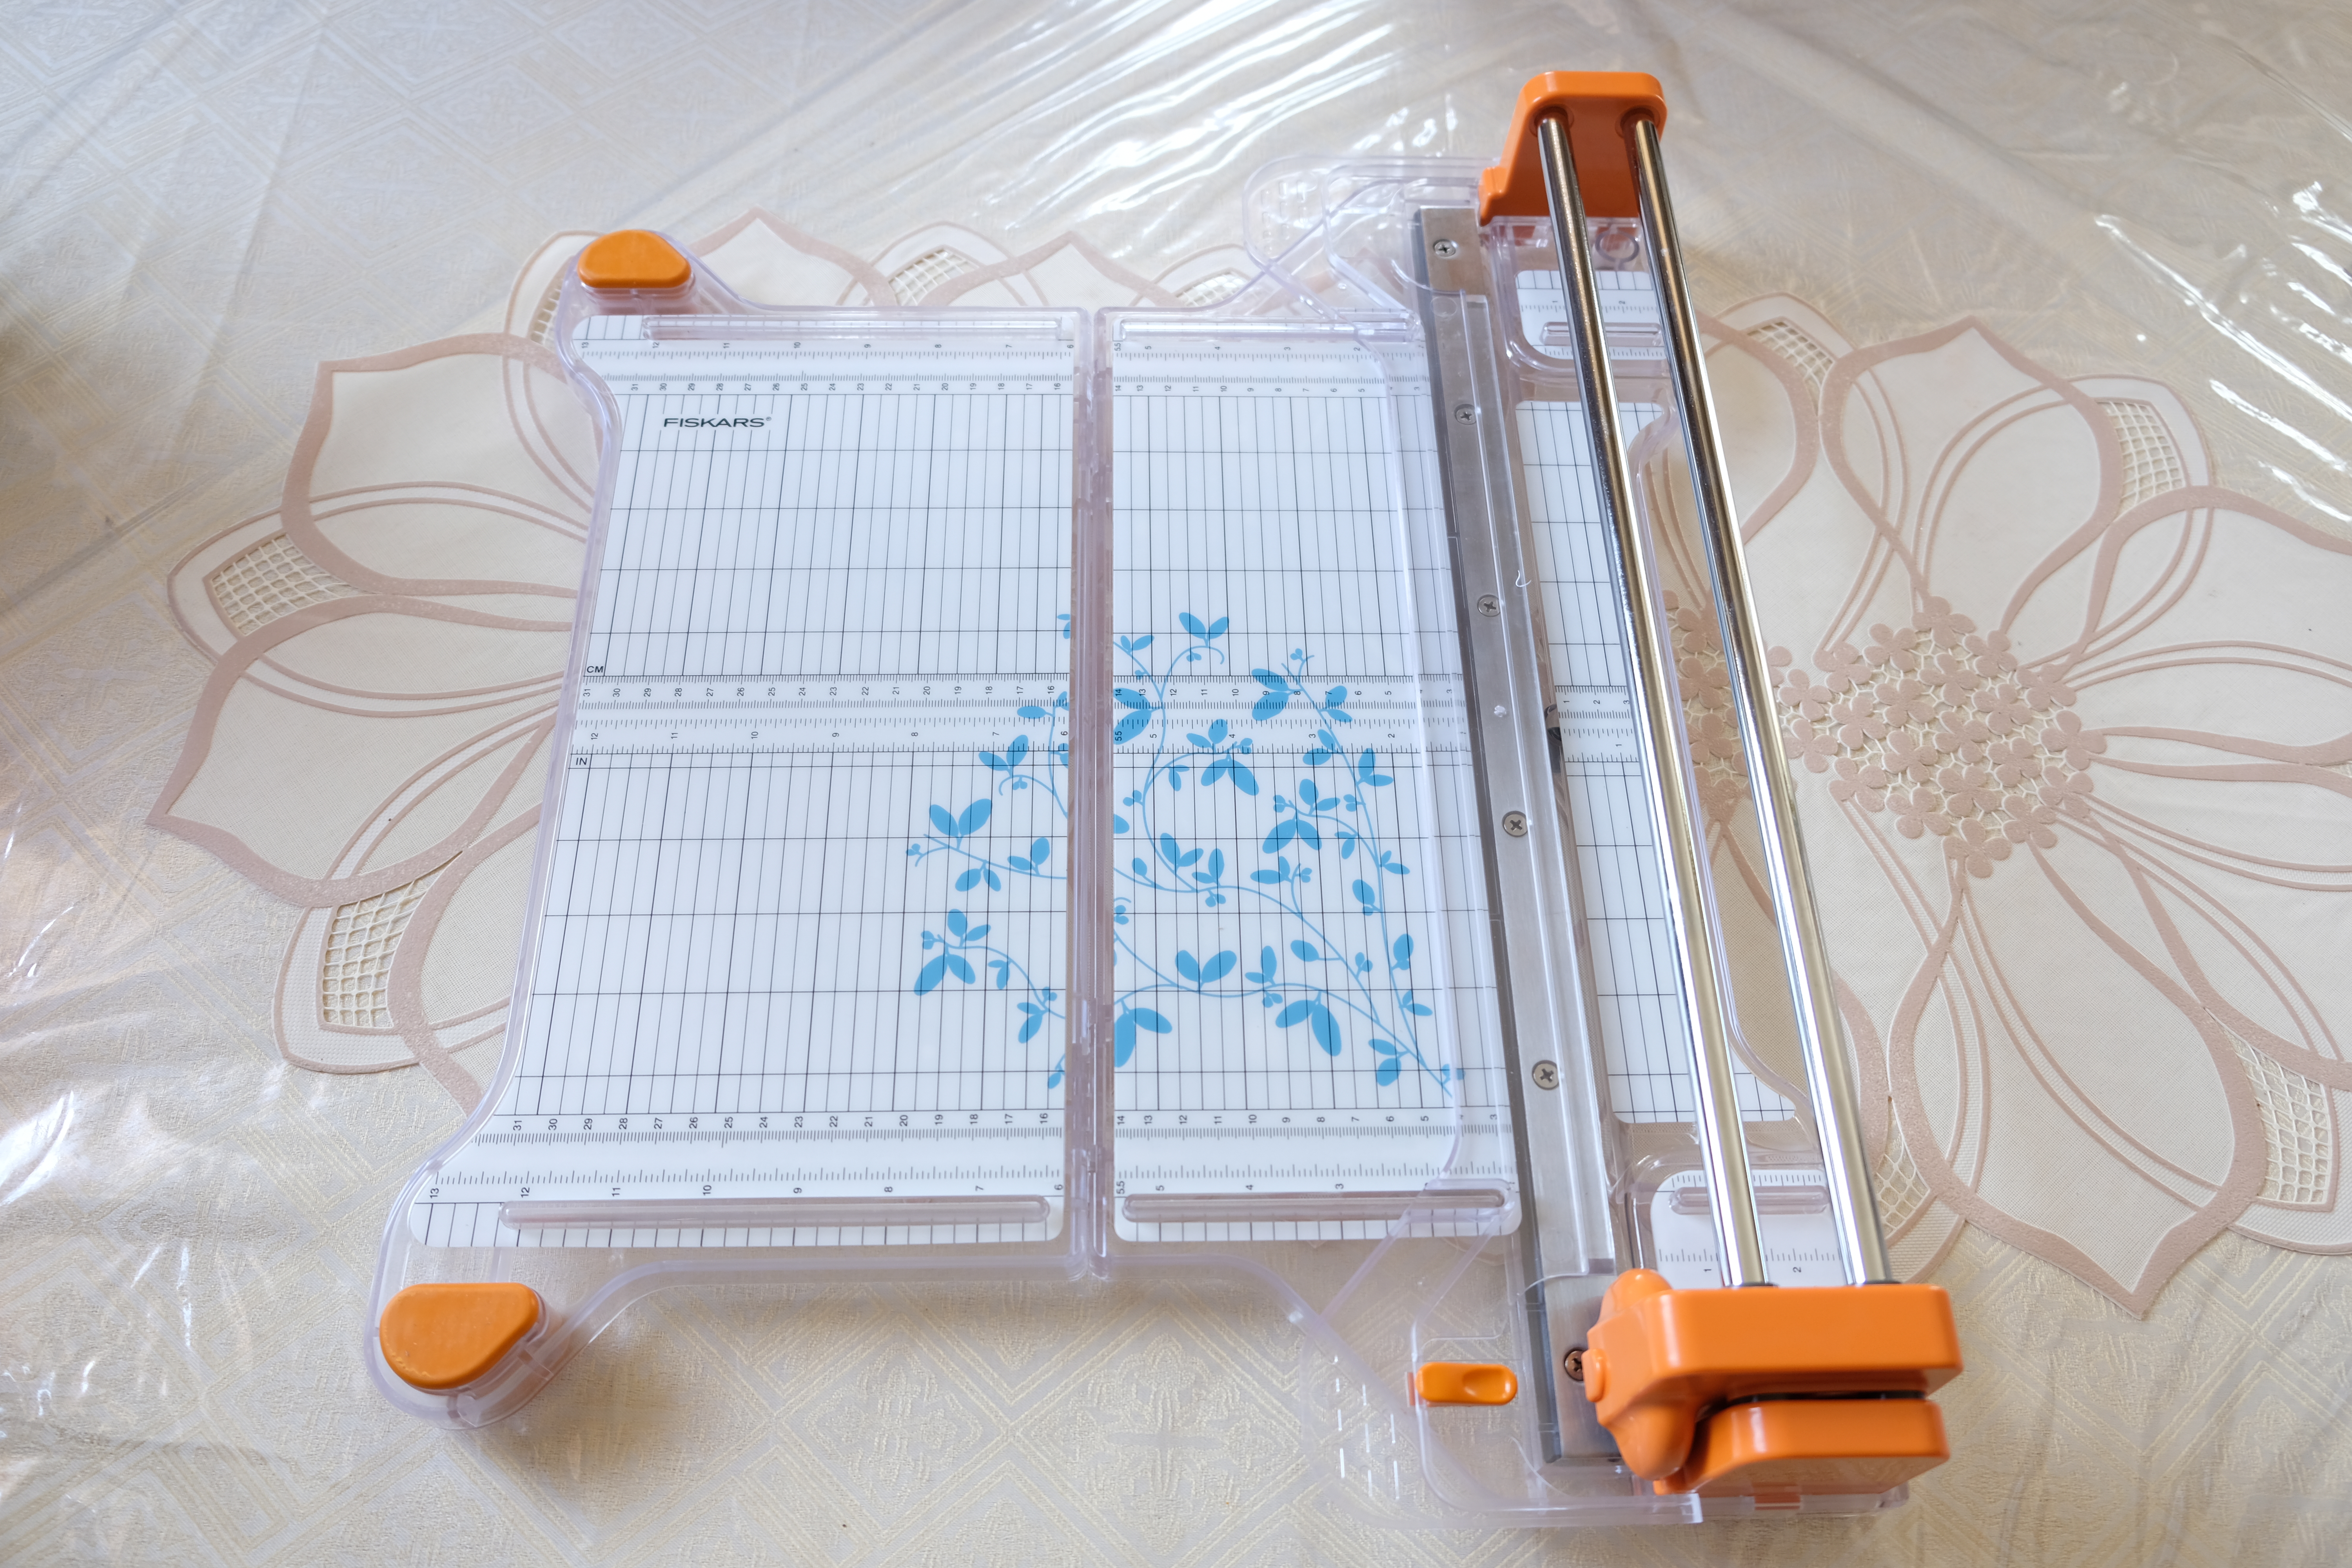
This type is pretty much like the previous paper trimmer where you drag the blade across the paper but this one uses a rotary blade instead of a tiny pointed blade. The rotary blade mechanism slices paper/cardstock like butter unlike the pointed blade trimmer where I noticed that I need to put more pressure in order to get better cuts.
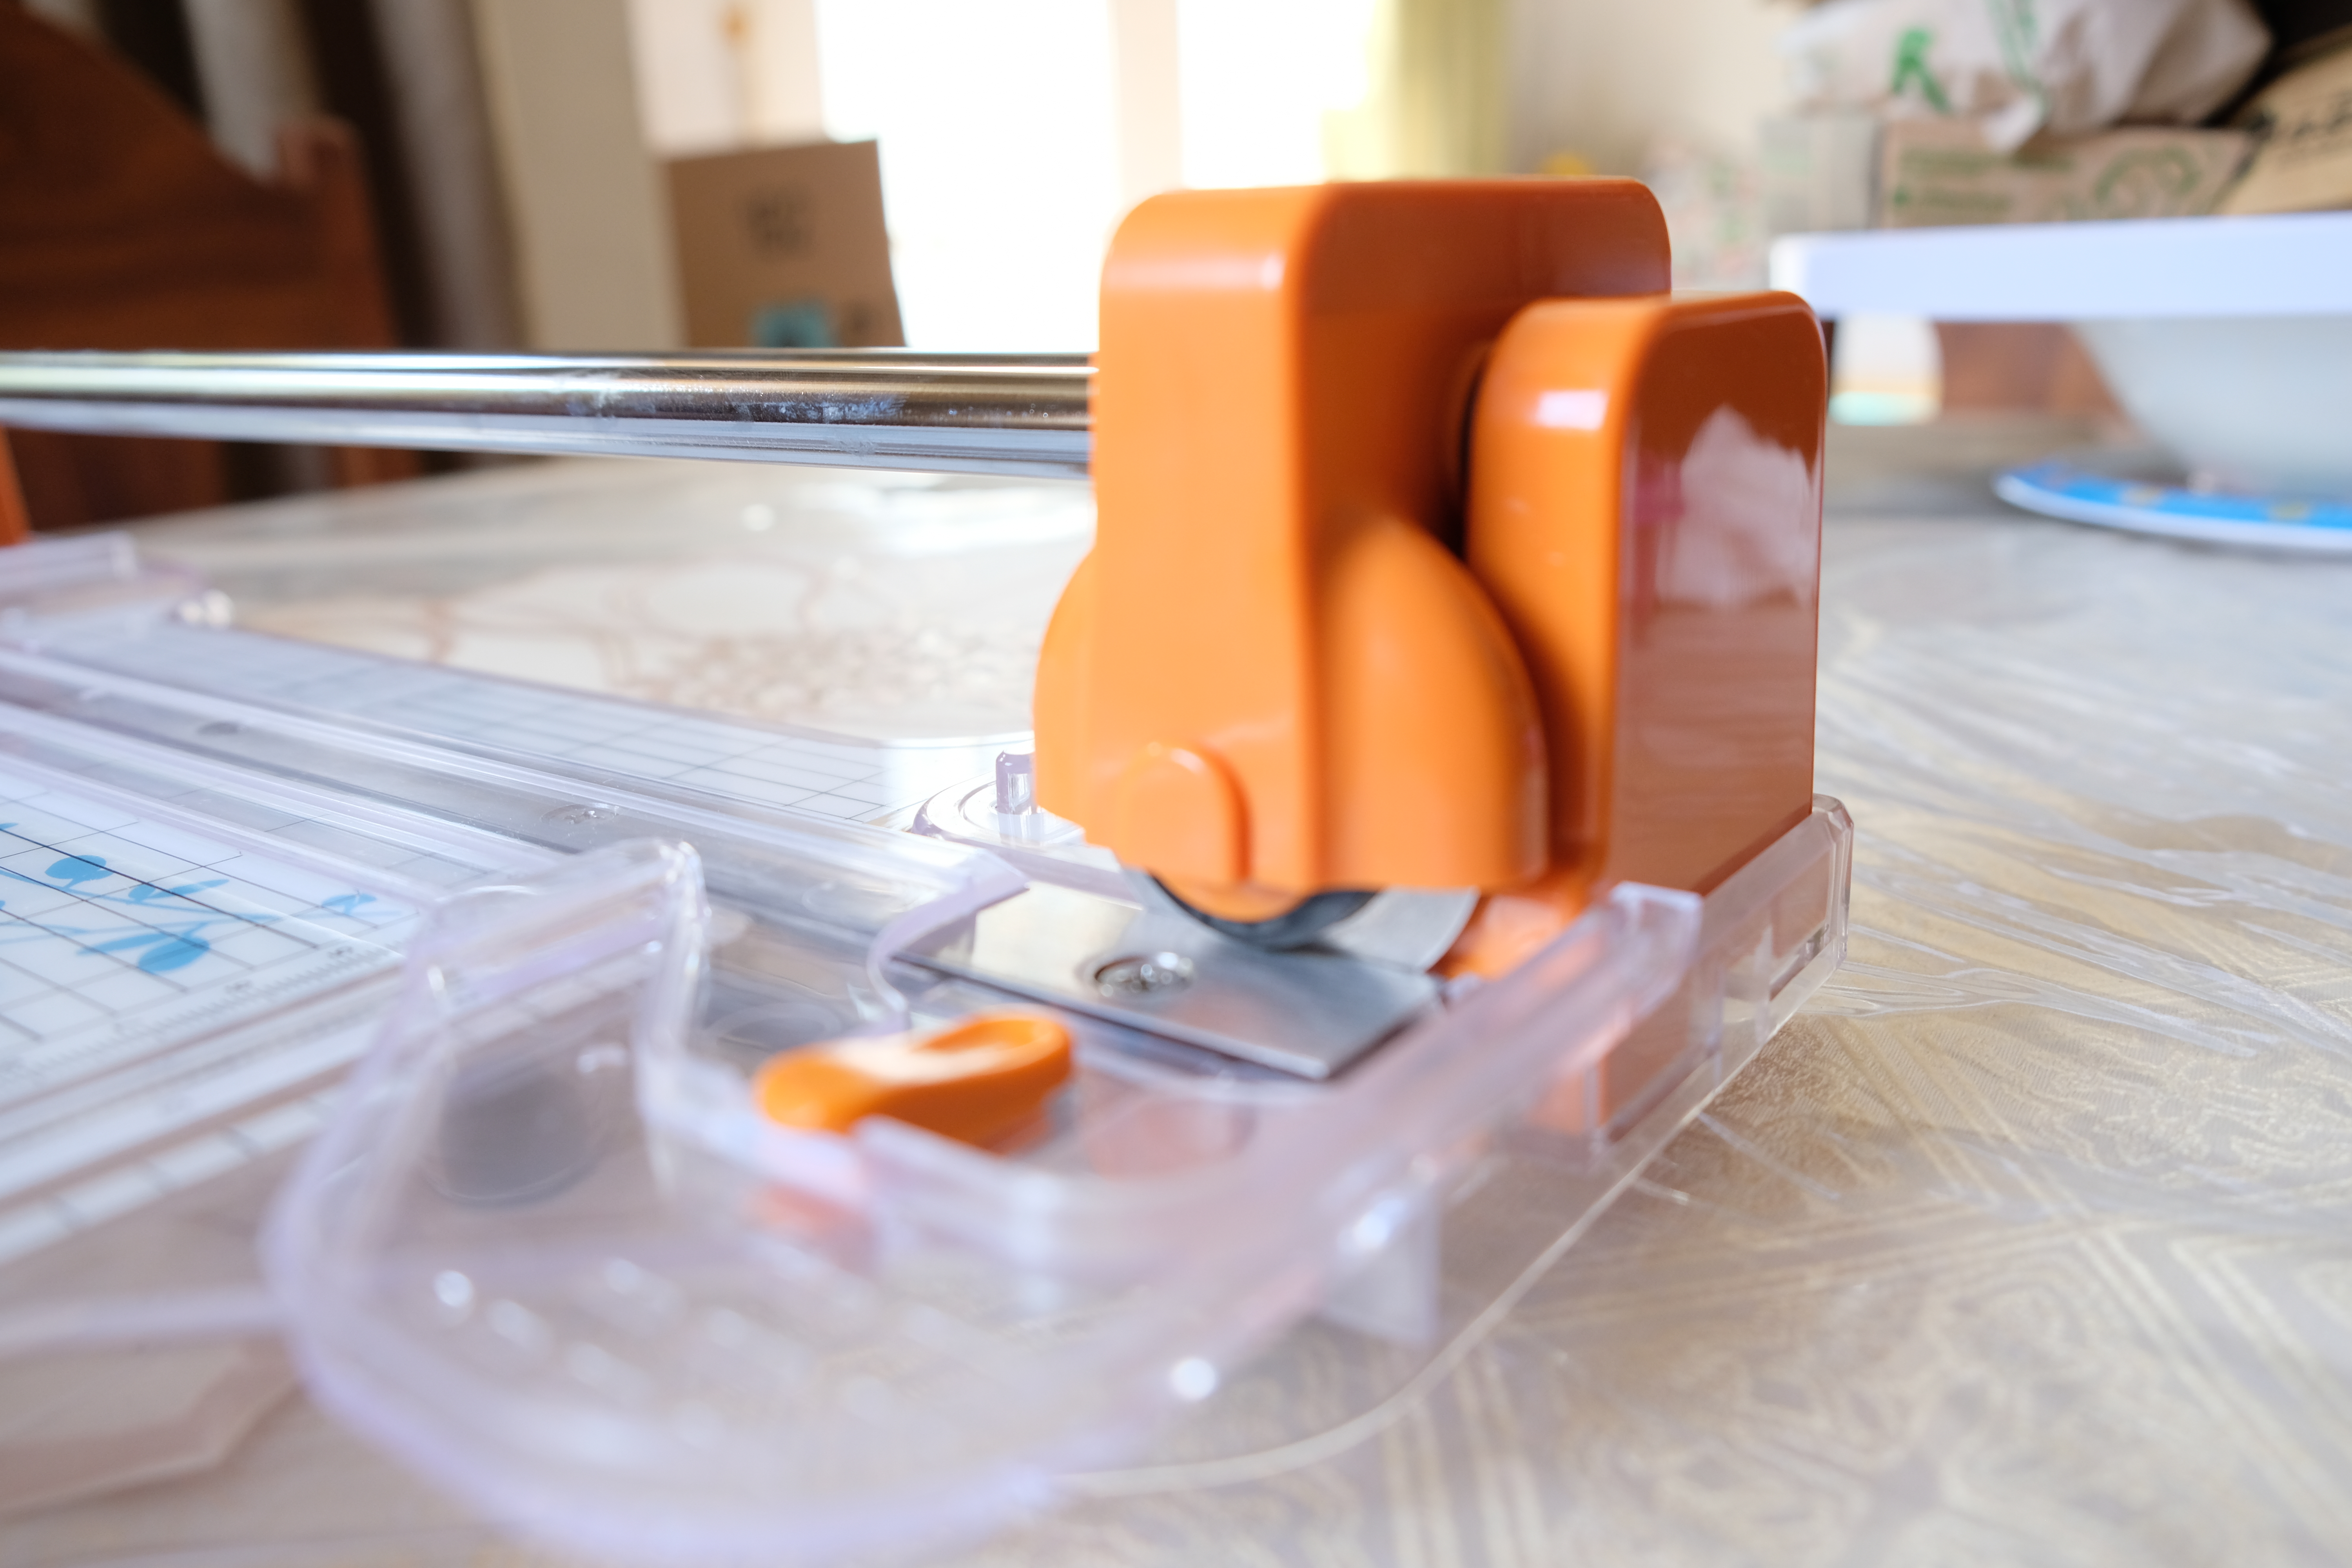
There are also various styles of this trimmer from other brands. The one pictured above is supposedly for heavy duty use and does not need blade replacement (we’ll see about that!). It makes clean, smooth and way better cuts than the pointed blade paper trimmer without the fear of having your fingers cut since the rotary blade is not exposed when cutting. Other trimmers of this type are usually bulky but the one pictured above may be folded so its easier to store. However, compared to a pointed blade paper trimmer, this one is heavier and a bit bigger.
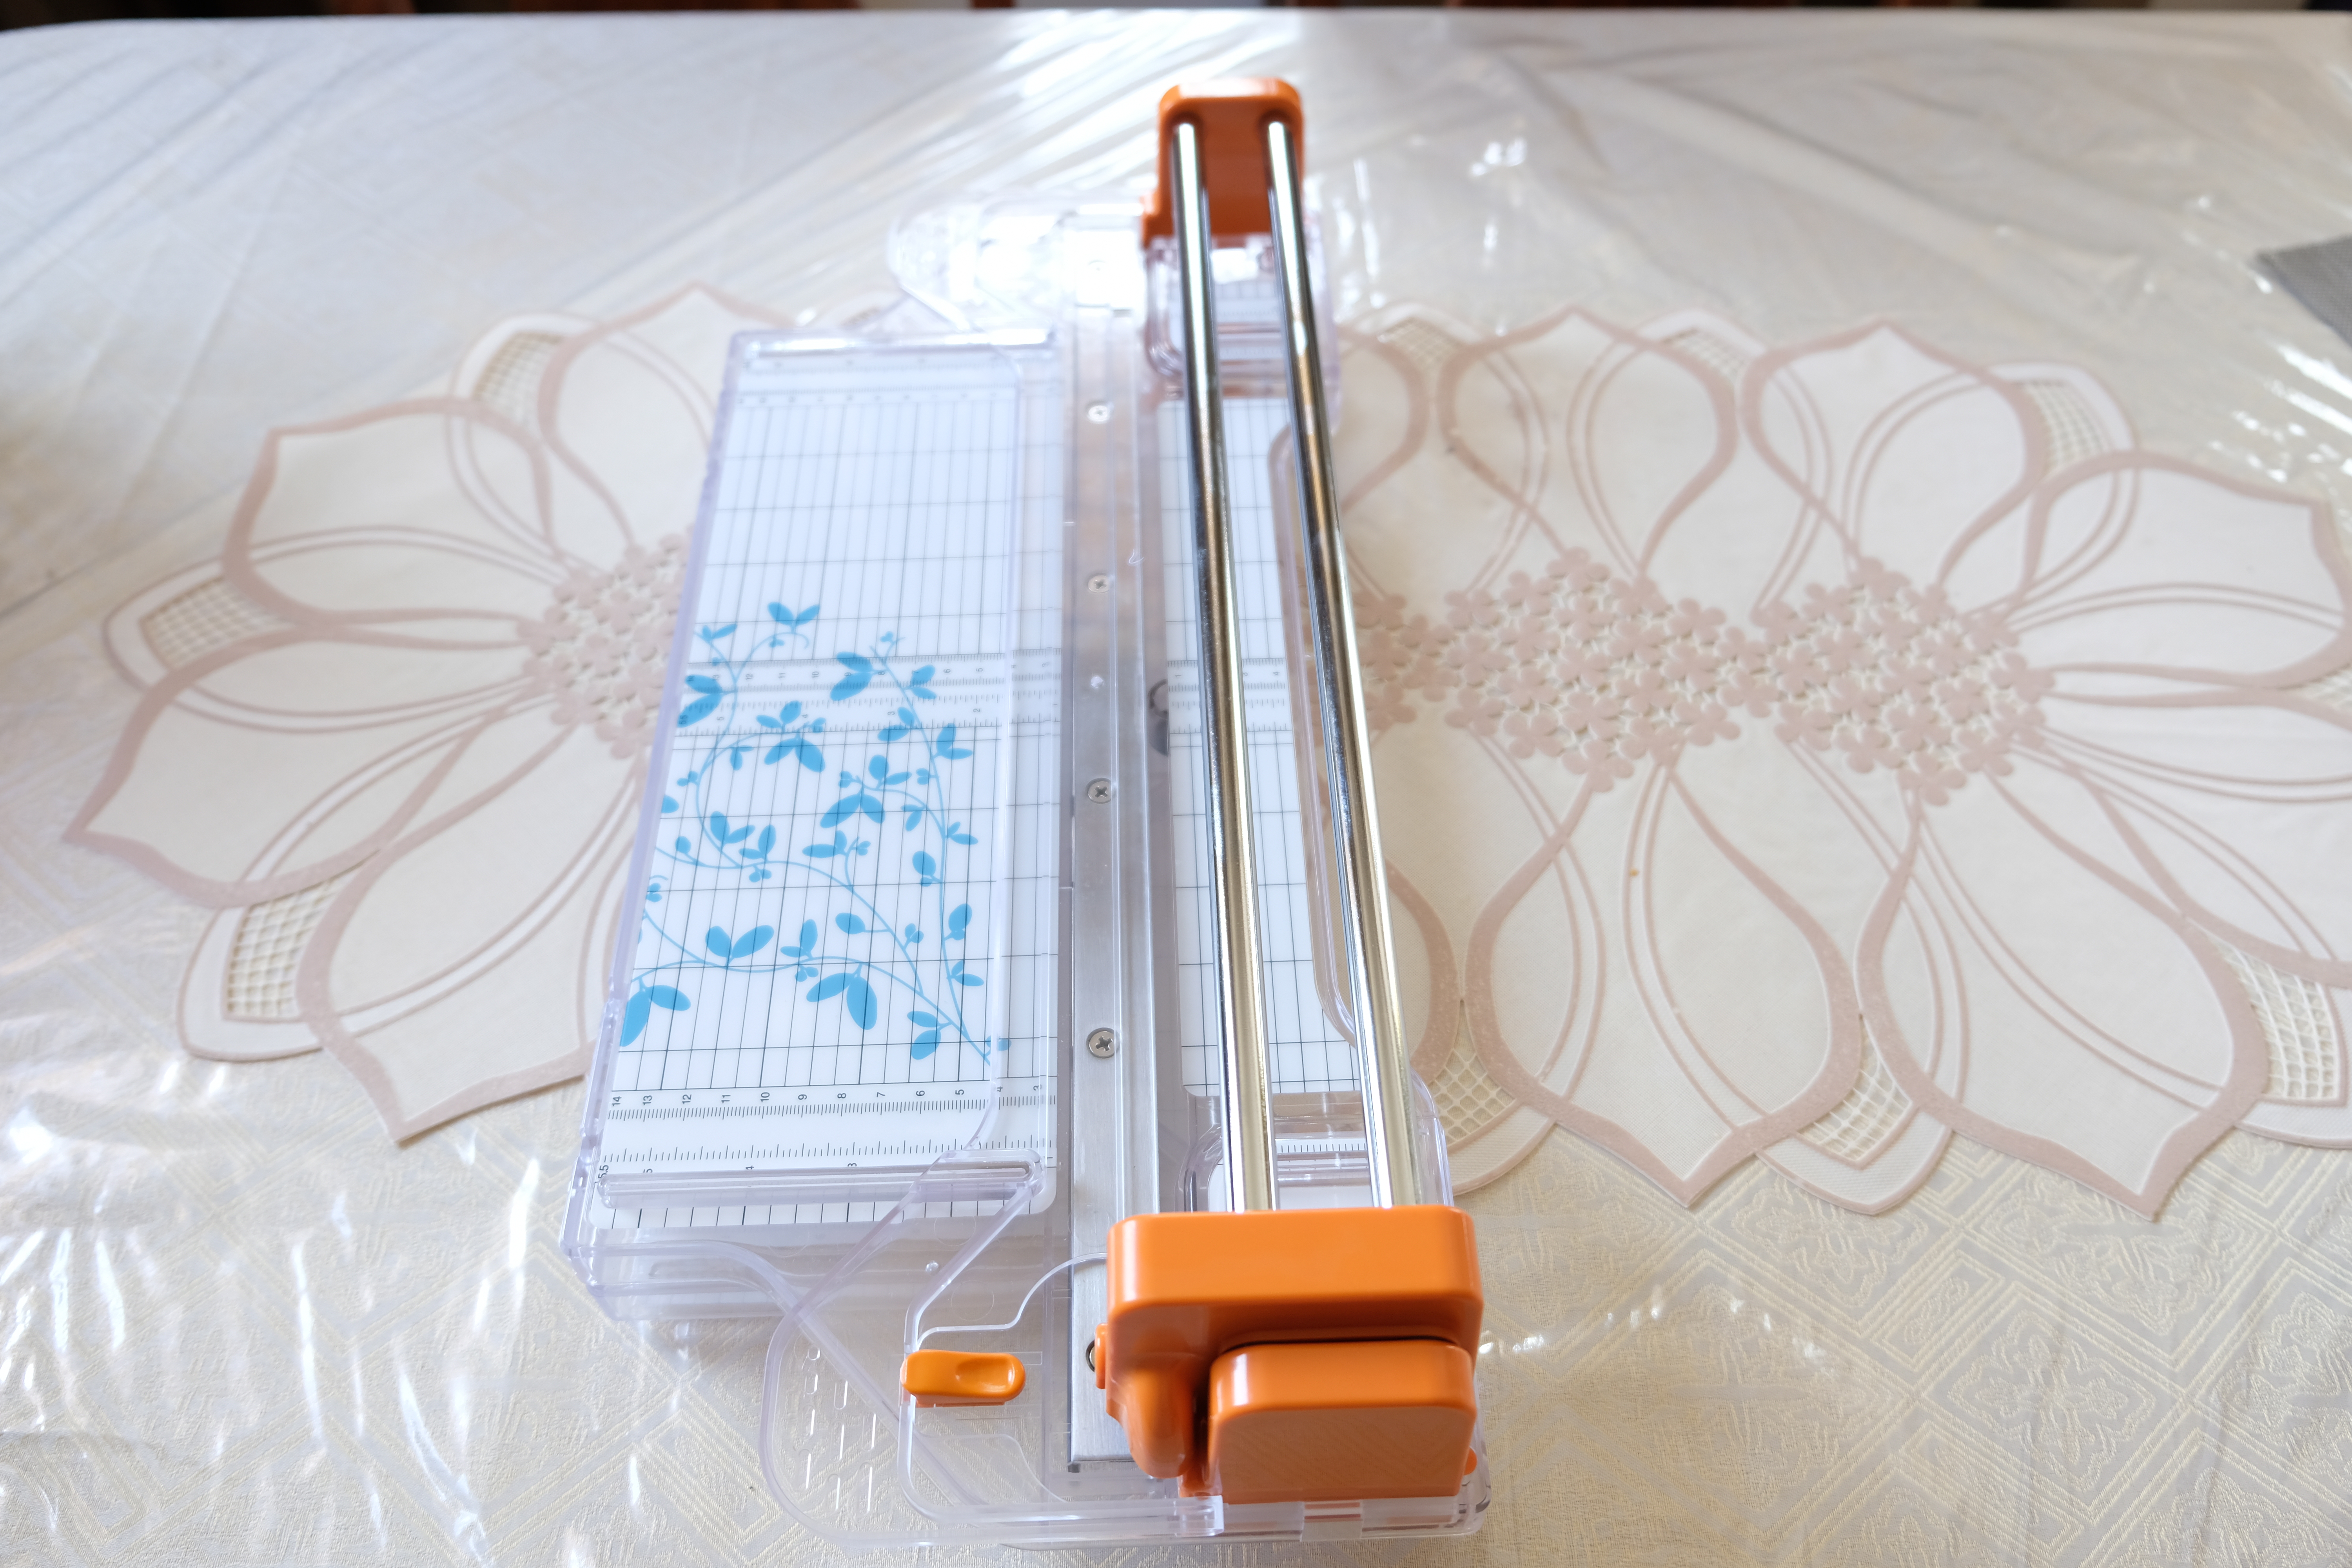
For now, my vote goes to the rotary paper trimmer just because of the smooth cut it makes and the fact that I don’t have to worry about losing a finger but I’m not ready to let go of my trusty guillotine just yet (or my pointed blade paper trimmer!) I know I’ll still use them in the future when the material calls for it 🙂
If you’re still confused about what to get by the end of this post, go for what would satisfy your needs, your space, and your budget 🙂

